Rifles
 Winchester 94: grip cap
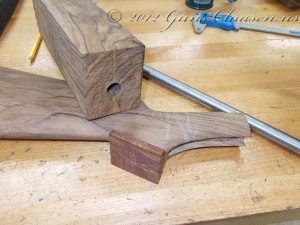
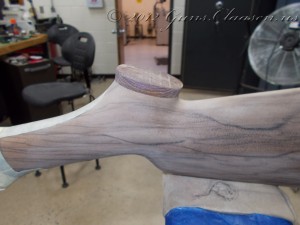
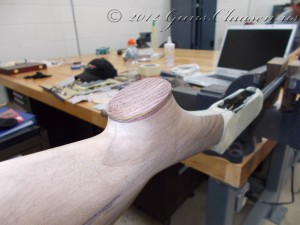
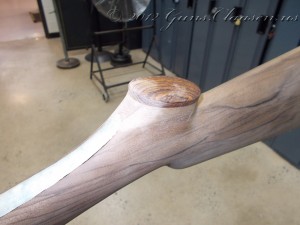
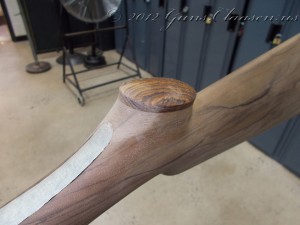
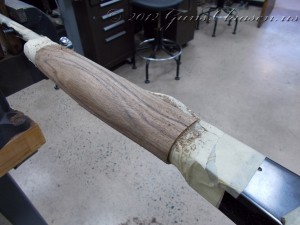
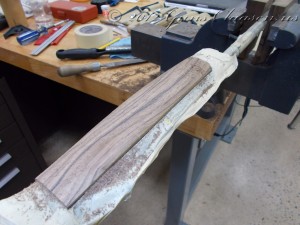
The grip cap is now glued to the rest of the butt stock and I can start shaping it to blend in with the butt stock. The first picture gives you an idea of my progress at the time on the fore end.
As always, the first step is rough shaping.
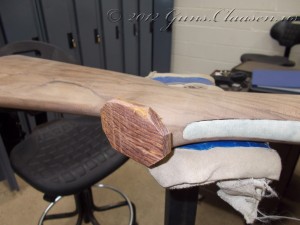
With the grip cap blended to the butt stock, I thought it was still a little too thick and made it a little thinner.
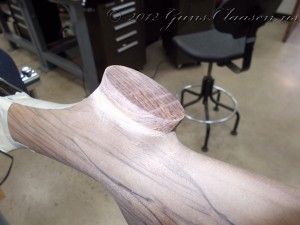
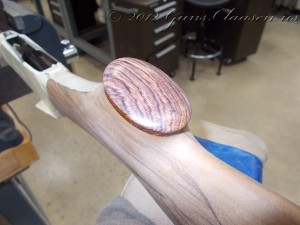
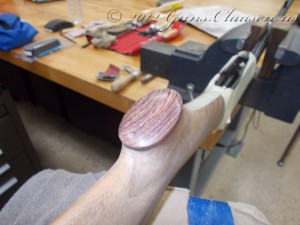
With the grip cap now at the desired thickness, I started smoothing all the sharp edges on it. I also polished a little to get some idea of what it will look like once I complete the stock.
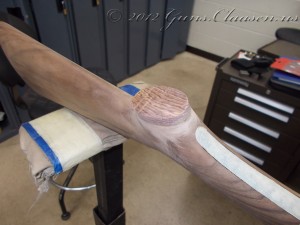
When I looked at the grip cap, I was not happy with the way the grip cap flowed into the front end of the butt stock. It was not really something I could photograph, but I reshaped the front area a little and though it looked better.
In my next post in this series, I will outline the process of fitting a recoil pad to the butt stock.
 Winchester 94: Fore End cont.
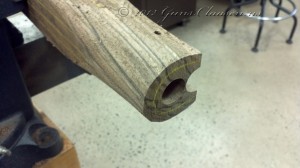
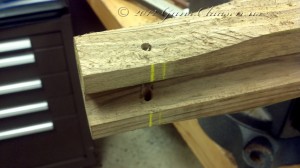
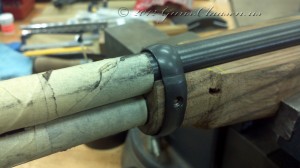
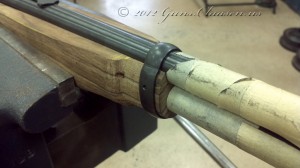
Time to start fitting the barrel band on the fore end of the stock. I marked a rough outline and started to shape the front end down to the right size. At this time, I had already cut the fore end to the correct size and drilled the hole for the barrel band screw. If you are wondering about the slightly different look in the pictures, I did not have my camera handy and used my cell phone to take the first four pictures in this post.
Here you can see the marks I used to drill the hole for the barrel band screw.
Once I got the front of the wood to the correct size, I started fitting the barrel band. This is a fairly slow process and it is easy to mess up if you are not careful on making sure the barrel band lines up correctly. I did make a slight mistake but it was during the last stages of fitting but lucky for me, the barrel band hides it.
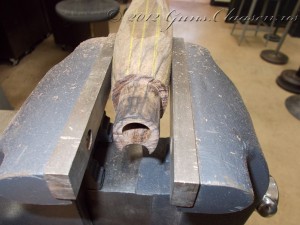
Once I finished fitting the barrel band, It was time to start the rough shaping of the fore end. I followed the same principles I used when I shaped the butt stock and tried to make sure I worked in stages and the I was taking of equal amounts of material on every side of the fore end. I made a choice here in shaping the fore end as well. The traditional fore end on the Winchester 94 is straight. The Black Shadow model had a slight bulge in the fore end. After trying both, I decided to do mine with a bulge as well. It made the rifle a little easier to hold and just felt better in my hand.
Here you can see some of the detail on the finished barrel band area.
As with the butt stock, the work here progresses from rough shaping using a rasp down to the point where I will start sanding the fore end.
I will now start sanding the fore end. I sand until I removed all the tool marks from the wood and I then slowly sand down to the stage where I will be sanding with 400 grit paper. Once I am there, I will start applying the finish to the wood. My next post in this series will outline the finishing work on the butt stock.
 Remington 700: Muzzle brake
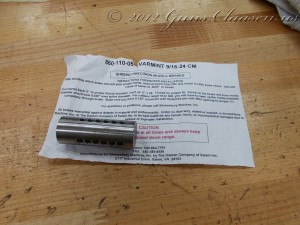
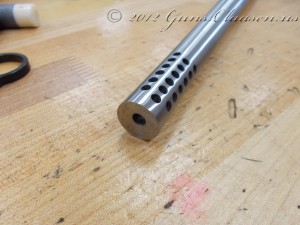
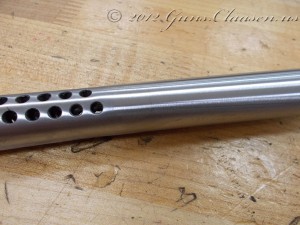
This is the last part of this project for this semester. The final step for the barrel is to install a muzzle brake. Normally, a muzzle brake is not really used on a small caliber rifle like this but I had already finished the crowns on my Mauser and FN projects. Originally this rifle was just going to get a crown but I messed up on an order to Brownell’s and ended up with this one.
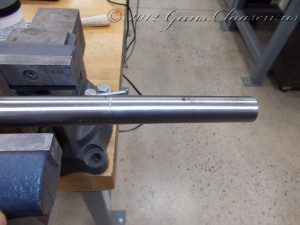
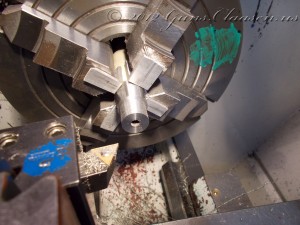
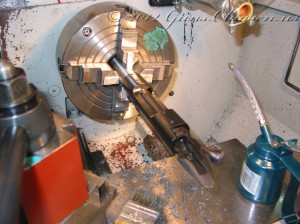
The first step was to cut down the barrel and thread it for the brake.
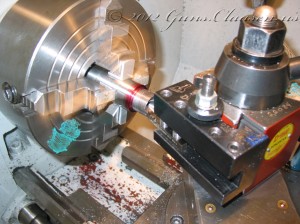
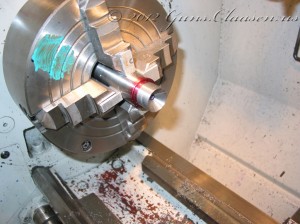
Yes, this is a rough cut so I just do it with a hacksaw. The barrel then goes back in the lathe (centered of course) the front of the barrel is then trued and a tenon is cut for the threads.
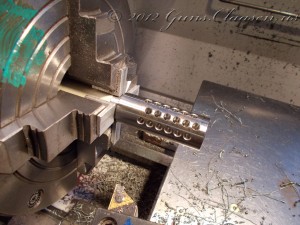
After this I made sure the brake fitted.
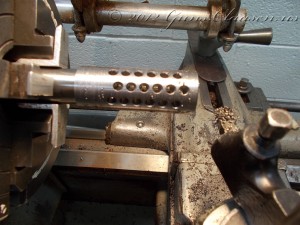
I then proceeded to cut the brake down to the approximate size of the barrel.
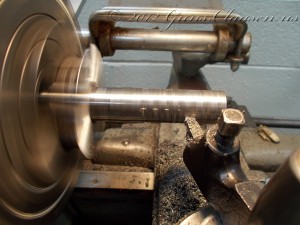
After I got the brake close to the barrel size, I polished it down to the same size as the barrel.
This concluded work on this project for this semester. Thank you for reading along.
 FN SPR: Barrel
I took a short break from updating the blog since it is the only break I will get before my summer semester. I have not been idle and took a few short courses during the break. But now we need to look at the FN project again.
The setup work on the barrel is a repeat of everything that I did for the Mauser and Remington projects. After centering the barrel in the lathe, I cut the tenon and threaded the barrel to fit the receiver. The next step was to cut the cone for the bolt.
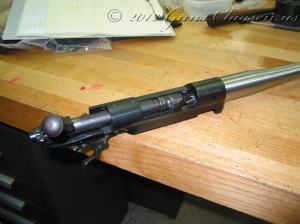
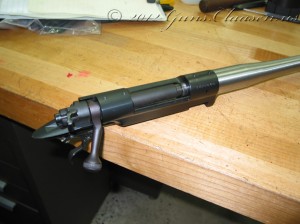
With the cone completed, I cut the chamber in the barrel. This rifle is chambered for .243 Winchester. I tightened the action onto the barrel and it is now ready for test fire.
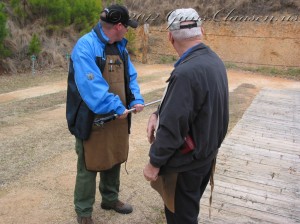
- Time to do the test fire!
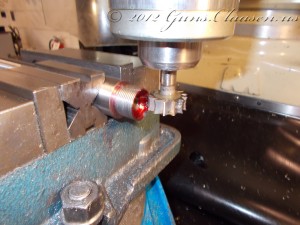
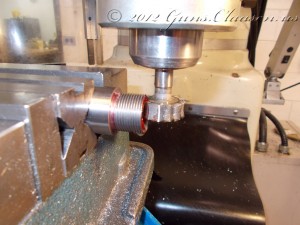
I am pleased with the test fire results. Case expansion on this rifle was 0.0005″ (12.7 microns/0.0127 mm). The final step of the barrel process is to cut the groove for the extractor. I marked the location of the barrel relative to the action, removed the barrel and set the barrel in a mill to cut the extractor slot.
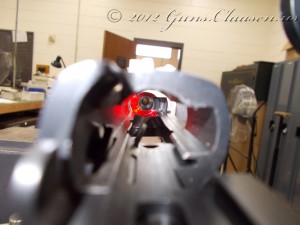
After I completed the cut, I re-assembled the action and barrel and verified the headspace and made sure the extractor works.
The only work left for the barrel is to do the crown. I will cover that in the next post on this project. As always, thank you for reading.
 Winchester 94: fore end continued
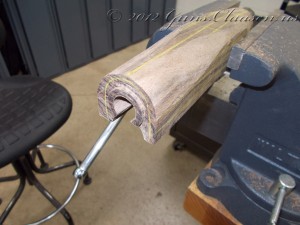
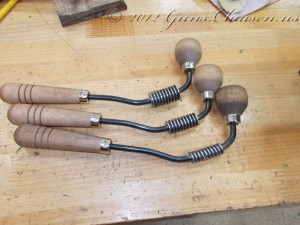
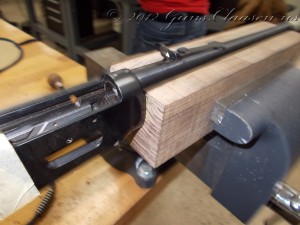
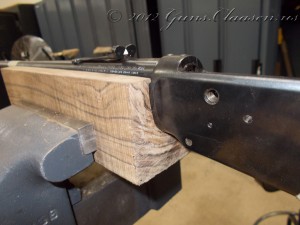
In my last post I promised to show some of the tools I use to make the barrel channel. These were almost exclusively used, starting with the smallest and using the biggest only when needed.
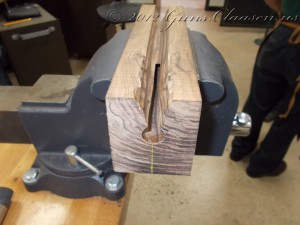
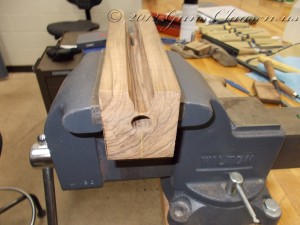
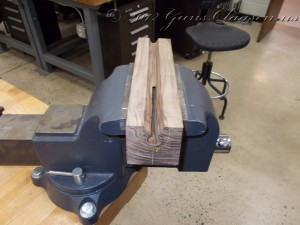
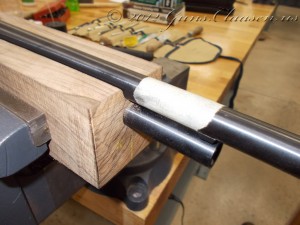
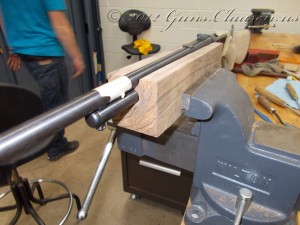
I continued to work the channel deeper. On the original fore end, there is a cut out section as the magazine tube is very close to the barrel.
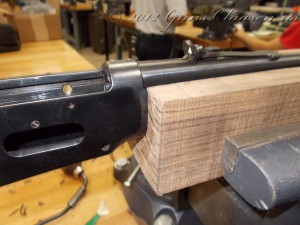
With the barrel channel close to the correct depth I started doing the inletting to allow the fore end to fit the action. I marked the rough outline, applied inletting black to the action and barrel. Then the long process started in getting everything to fit. This is slow work and this part went better and quicker than on the butt stock.
I slowly worked at the back area and the depth until it fitted correctly.
I felt I did a better fitting job here as opposed to the butt stock. The next step is to fit the barrel band and then shape the fore end. During one of the test fittings, I had to appease the blood gods with a sacrifice. The bottom of the hole on the magazine tube had a sharp edge I forgot about and it managed to break some skin.
