Posts Tagged ‘barrel’

Mauser: Barrel crown

The final project for my second semester on the Mauser was to cut the barrel to length and do the crown. As this rifle is intended as a hunting rifle, I opted to do a recessed crown. This provides protection for the crown as hunting rifles generally go through a little more abuse than most rifles. I started by measuring the barrel to the length I wanted and doing the rough cut with a hacksaw. If you are wondering about the cardboard holding the barrel, it has been replaced by a proper set of vice jaw protectors.

Cutting the barrel to length

Rough cut done

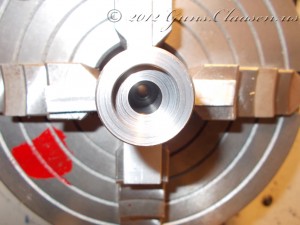
After I completed the rough cut, I mounted the barrel in a lathe to complete the process. As with all the other barrel projects, the barrel is accurately centered in a 4-jaw chuck before any of the work is started. I then squared the muzzle of the barrel.

Squared

After squaring the muzzle, I cut the recess crown and cut a 45° chamfer step to the muzzle front.

Done!

At this point, I completed work on the Mauser for this semester. The next item that I will work on the this rifle is when I do the stock from a blank. This will take place in the first semester of my second year (starting August 2012). I gave the rifle a good cleaning, made sure I protected all the metal parts and stored it.

FN SPR: Barrel completion

In this post I will complete the work I did on this project for my second semester. The last step is to cut the barrel to size and crown it. The crown of the barrel is very important for the accuracy of the rifle. It must be cut square to the bore. If the crown is not square to the bore or damaged, the gases that propel the bullet will push it slightly of course.

First the easy part. I marked and cut the barrel to length using a hacksaw.

Ready to cut

Rough cut done

After this I installed the barrel in a four jaw chuck on the lathe and set it up.

Setup for crowning

Once I completed the setup, the cutting started. First I did a smooth cut square to the bore.

High speed!

I then used the compound of the lathe to cut an 11° crown. On the Remington project a square crown was acceptable as I installed a muzzle brake. For the FN I chose the 11º crown. While there is some debate about which type of crown is better, I just chose to do a few different types.

Crowned!

This concludes the work for my second semester on the FN project. Thank you for following along!

Remington 700: Barrel

After finishing the action, I turned my attention to the barrel. As I said in an earlier post, I purchased the barrel from Shilen. It is a #6 or lightweight target contour Match grade barrel manufactured from chrome-moly with a .224 bore with a 1:9 twist. The first step is to mount the barrel in the lathe. The barrel is precisely centered by the use of dial indicators on both sides. Again, this setup should be as precise as possible to ensure maximum accuracy from the rifle. The pin seen inside the barrel fits tightly in the bore and is precision made. I managed to get the run-out on this barrel to about 0.00025 in (0.00635 mm).
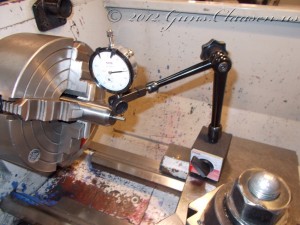
Chamber side
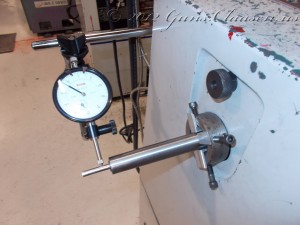
Muzzle side


The first machining step is to face the chamber side of the barrel.
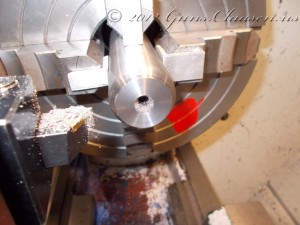
Facing


Then the tenon is cut. This is the section of the barrel that will thread into the receiver. It is turned down in size until the recoil lug will fit.
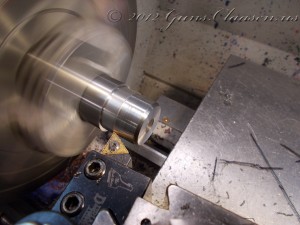
Cutting the tenon
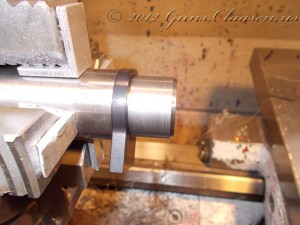
Recoil lug fits


The next step is to cut threads into the tenon. I prefer doing this at the back of the lathe and to cut the threads away from the work. Doing it this way is better for me as it is more difficult to make a mistake by pulling the cutting tool away from the work too late and running into the tenon shoulder. For me, it also makes the threads look better where they stop on the tenon. Yes, I know once the rifle is put together, it will not be visible.
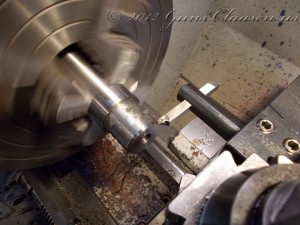
Starting the threads
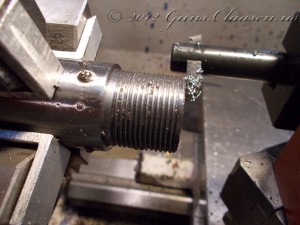
About halfway done
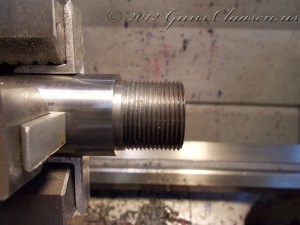
Done!


Of course I need to check that it all goes together.
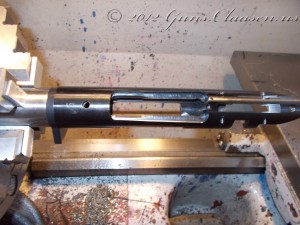
Receiver fit check


The design of the Remington 700 call for the barrel to be counter-bored. This is where the bolt will actually fit and the reason the front of the bolt lugs was trued. This is a fairly easy step if you have the correct counter-bore tool.
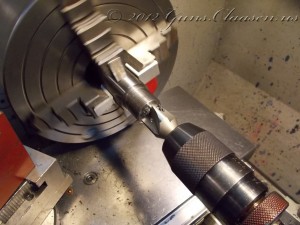
Counter-boring
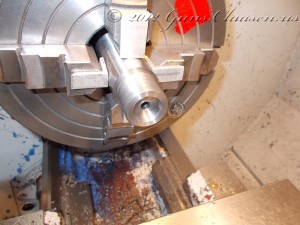
Counter-bore completed


Now it is time for the most critical step, cutting the chamber. This is a slow process as the reamer (the cutting tool) has to be pulled out constantly to clean both it and the inside of the barrel. There is also two reamers used in this process, a roughing and a finishing reamer.
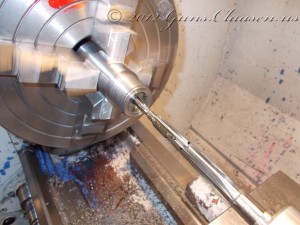
Starting with the roughing reamer
Some time later it is finished!


In the next post on this build, I will attach the receiver to the barrel, assemble the trigger and test fire the rifle.


Remington 700 project: Bolt blueprinting

Started on my Remington 700 project this week (March 19). I am putting a lot of attention to detail into this one as I am building it for my wife! This is a brand new action from Remington chambered in .223 Remington. I did contemplate doing this in 5.56×45 but we do not have the correct reamer. (I listed the calibers incorrectly before. My mistake, I am blaming it on the fact that I was working on my Winchester 94!) The first picture shows the action and bolt. The bolt is disassembled as I only need the bolt body during the barreling and chambering process. 

This picture shows the barrel blank. I purchased the barrel from Shilen as they give us a really good trade discount as students. The barrel has a number 6 contour (which means it is pretty thick and quite heavy) and made from chrome moly steel. The twist rate for this is 1:9 to allow for the use of a range of bullet weights.


Here is the action without the trigger assembly. You can also see the recoil lug in the background to the left and center of the picture. The recoil lug helps to control recoil once the action is mounted in a stock. On the Remington 700, this is an extra piece. On the Mauser and FN actions, this part is part of the action.

I started doing all the blueprinting work on the bolt and action. This allows for added accuracy. We use a fixture to mount the bolt in the lathe and then center the work piece just behind the lugs of the bolt. You will see the instruments we use to measure a little further down as we also use them for setting up the barrel. What is measured is known as run-out and shows how well the work piece is centered in the lathe. The more accurate the work is set up, the better it will function. I try for zero run-out but it is not always possible. For this bolt I got it to less than 0.0005 inches (12.7 microns or 0.0127 millimeters).

The next step was to “true” up the back of the bolt lugs. Truing the lugs just means we make sure they are the same height and that they are square to the bolt body. The first picture shows the process, the second shows the result.

This process repeats on the front side of the bolt lugs. This is not always needed as it depends on the action. On the Remington 700 it should be done. Again I am showing a during and last picture.


This is almost all the work on the bolt body for now.