 Remington 700 project: Action blueprinting
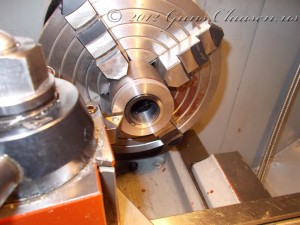
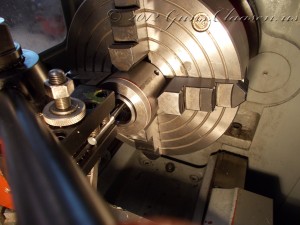
With the blueprinting work on the bolt finished, it is now time for the receiver. As with the bolt, I use a fixture to clamp the receiver in the lathe and center the work. Run-out on this setup was slightly better than the bolt fixture. The rod sticking through the receiver is only used to measure run-out. It is removed (actually pushed back as it fits really tight) when the work starts.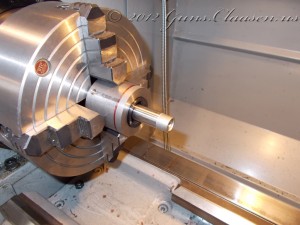
Here is the work halfway done. This photo was taken after the first cut and you can see that the face of the receiver is not quite square. Even though the factory has good tolerances in their manufacturing process, you can get better results with a little extra work.
The next step is to square and true the inside of the receiver. I use a small boring bar to get inside the receiver. It is difficult to see in the first picture what I am cutting, but this is done to square up the recoil lugs inside the receiver.
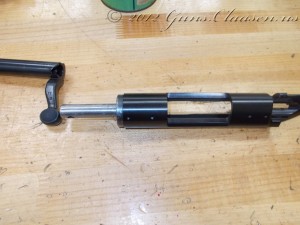
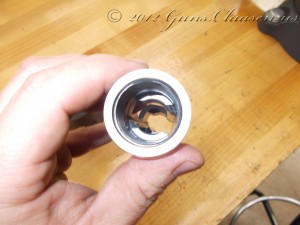
The next step is to use a tool to lap the bolt lugs onto the recoil lugs. The lapping tool is screwed into the receiver where the barrel would normally go. It has a spring-loaded center part and when the bolt is inserted into the receiver and locked into the closed position it will push the bolt lugs against the recoil lugs in the receiver. Lapping compound is a fine grinding paste and by applying some on the back of the bolt lugs, inserting it into the action and opening and closing the action, the lapping compound will slowly grind these surfaces to make perfect contact with each other. The pictures show the receiver with the lapping tool inserted, the bolt after lapping (you will note wear on the dark part of the bolt due to the grinding action of the lapping compound) and the inside of the receiver showing the recoil lugs.
Next up is the barrel and I will show the work on that in a new post.
