Archive for July 2012
 Winchester 94: Stock wrap up
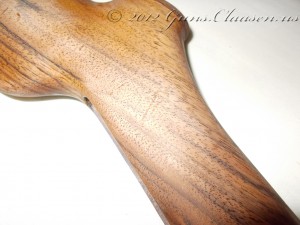
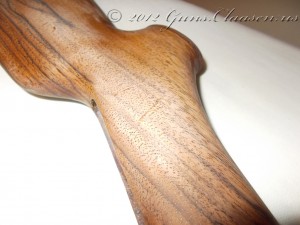
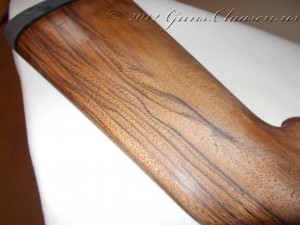
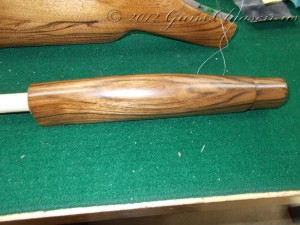
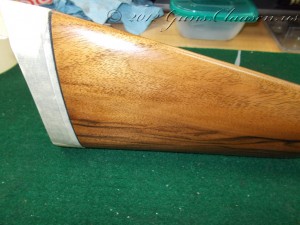
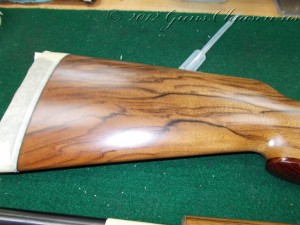
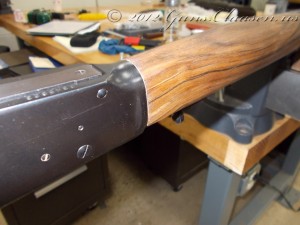
In this next to the last post on the Winchester 94 stock project I will cover the issues I mentioned in my earlier post on this project. I will also show the almost completed stock and fore end. In the earlier post, I milled out the area between the upper and lower tang of the receiver to fit all the internals. Although I did protect the wood from the clamp on the milling machine, it did suffer a little and I was left with a few small dents in the wood. Luckily, they were not very deep and I did manage to steam them out. If you look at the full size pictures, you will also note that you can still see some pores in the wood. At this stage, the stock and fore end only have a few finish coats on them.
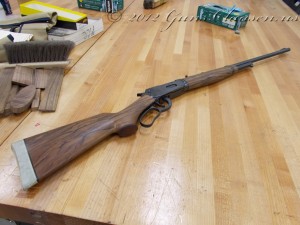
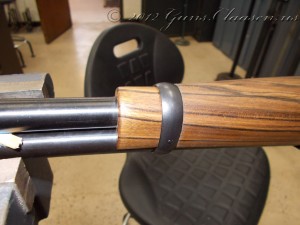
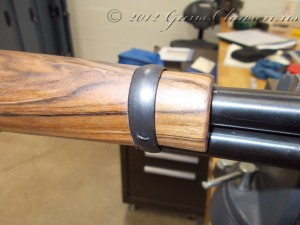
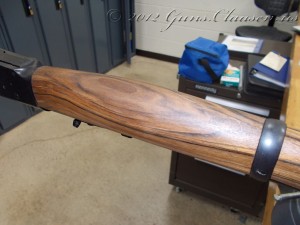
The next few pictures show the stock and the fore end close to what they are looking like now. Although it is difficult to see, there is still a few places where the wood pores show through.
I will do one more post on this project. I have gotten it very close to the point where I am totally satisfied with it. I still have a few small pores in the fore end which I hope will no longer be there after the next finish coat. Once I am happy, I will re-assemble, take a few close-ups and post those for everyone to see.
 Quick update
I am taking a break this weekend and visiting some friends and family. As a result, I will not add any posts this weekend. Our semester is winding down and I will have a short break soon. During the break, I am hoping to update my posts to the point that any new posts will be on work that is no more than a week old. As I am getting ready to enter my second study year, I am also going to start on a metal engraving certificate course that is offered at MCC.
 Winchester 94: Stock finishing
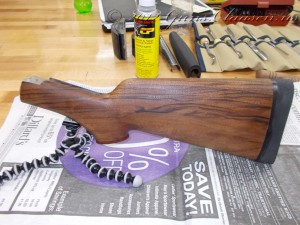
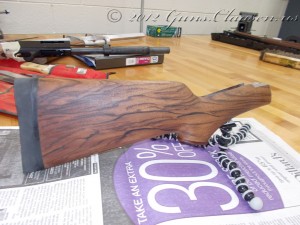
The stock on the Winchester is now on the last few steps. To obtain a grade, we have to do at least one finish coat on the wood. During grading the instructor looks and makes sure that there is no scratch or tool marks in the wood. The finish I used for this stock is Custom Oil by Gun Sav’R. I chose to use a satin finish. The finish is available in an aerosol and liquid that can be sprayed by airbrush or paint gun. I used both, starting with an application of liquid rubbed into the stock.
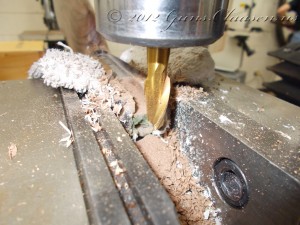
Once I got to this point I realized I had forgotten something quite important. I had not removed all the wood in the buttstock and the action would not fit at this point. For reasons I will show you in the next post, I will make sure I do this earlier in the finishing process next time. So, of to the mill, to clamp and mill out most of the material that is in the way. It is a little tricky to clamp this and I had to take care to make sure everything was lined up correctly.
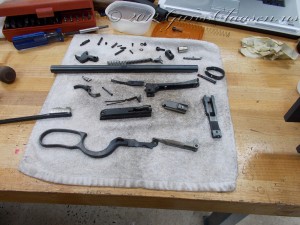
After I completed the milling work (with a little filing as well) I started to assemble the rifle to ensure proper operation. I cleaned all the parts first and then assembled. Since it had been a long time since I disassembled the rifle, I did not go together on the first try but that is how you learn!
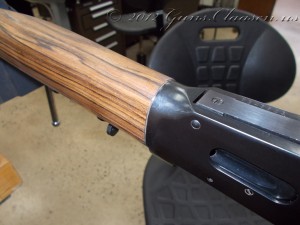
The next few pictures speak for themselves. When you work with wood, it is always difficult to predict exactly what it will look like as you shape the wood. An interesting pattern on the outside could just fade away as you start removing wood. That did not turn out to be the case on the forend. The slight discoloration between the forend and the receiver is some Acraglas. This time, I did color it a little darker.
I am happy with the way this project is shaping up. The barrel band fit is not perfect and there is a few dimension not quite the way they should be, but those are not very noticeable. The forend feels and fits really well in my hand. I should have one more post on this project where I will be able to wrap up.
Thank you again for stopping in and reading!
