Archive for May 2012
 Remington 700: Muzzle brake
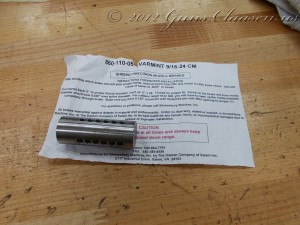
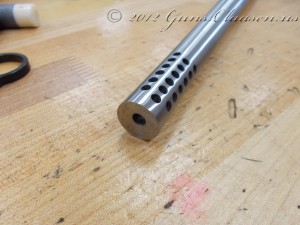
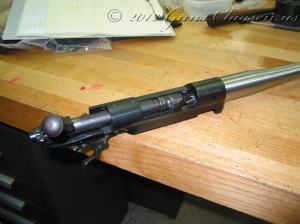
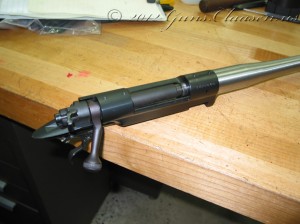
This is the last part of this project for this semester. The final step for the barrel is to install a muzzle brake. Normally, a muzzle brake is not really used on a small caliber rifle like this but I had already finished the crowns on my Mauser and FN projects. Originally this rifle was just going to get a crown but I messed up on an order to Brownell’s and ended up with this one.
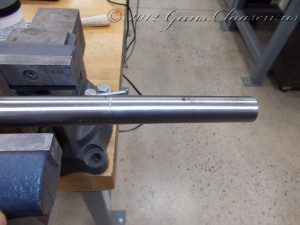
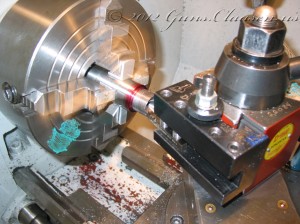
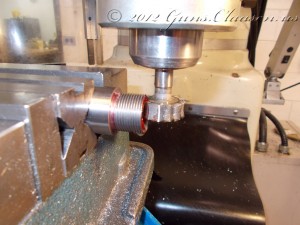
The first step was to cut down the barrel and thread it for the brake.
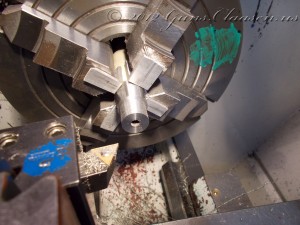
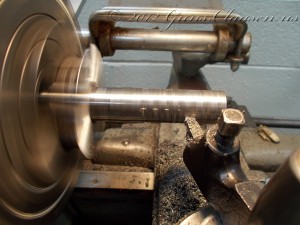
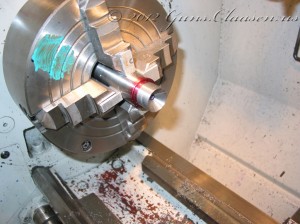
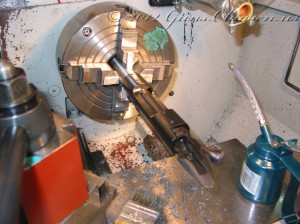
Yes, this is a rough cut so I just do it with a hacksaw. The barrel then goes back in the lathe (centered of course) the front of the barrel is then trued and a tenon is cut for the threads.
After this I made sure the brake fitted.
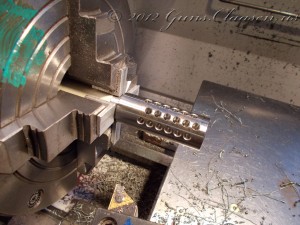
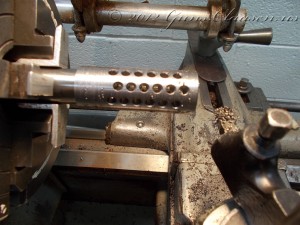
I then proceeded to cut the brake down to the approximate size of the barrel.
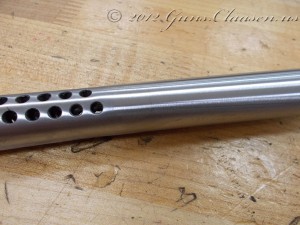
After I got the brake close to the barrel size, I polished it down to the same size as the barrel.
This concluded work on this project for this semester. Thank you for reading along.
 Results
I received my official results for my second semester today. I kept my GPA at 4.0.
 FN SPR: Barrel
I took a short break from updating the blog since it is the only break I will get before my summer semester. I have not been idle and took a few short courses during the break. But now we need to look at the FN project again.
The setup work on the barrel is a repeat of everything that I did for the Mauser and Remington projects. After centering the barrel in the lathe, I cut the tenon and threaded the barrel to fit the receiver. The next step was to cut the cone for the bolt.
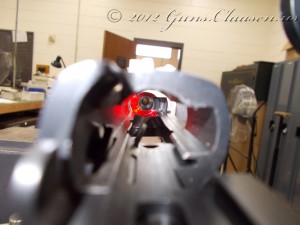
With the cone completed, I cut the chamber in the barrel. This rifle is chambered for .243 Winchester. I tightened the action onto the barrel and it is now ready for test fire.
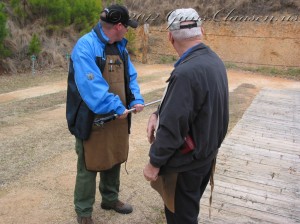
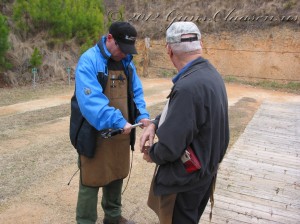
- Time to do the test fire!
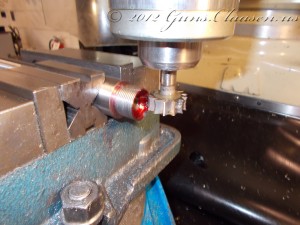
I am pleased with the test fire results. Case expansion on this rifle was 0.0005″ (12.7 microns/0.0127 mm). The final step of the barrel process is to cut the groove for the extractor. I marked the location of the barrel relative to the action, removed the barrel and set the barrel in a mill to cut the extractor slot.
After I completed the cut, I re-assembled the action and barrel and verified the headspace and made sure the extractor works.
The only work left for the barrel is to do the crown. I will cover that in the next post on this project. As always, thank you for reading.
 Winchester 94: fore end continued
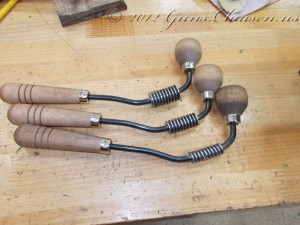
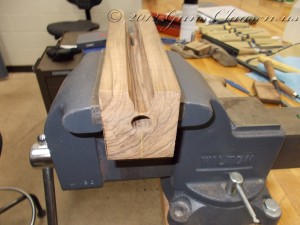
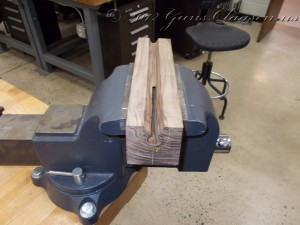
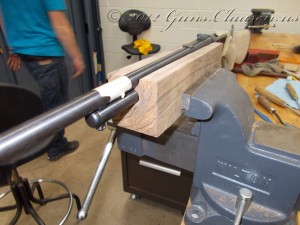
In my last post I promised to show some of the tools I use to make the barrel channel. These were almost exclusively used, starting with the smallest and using the biggest only when needed.
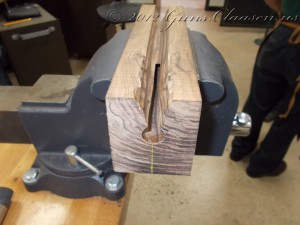
I continued to work the channel deeper. On the original fore end, there is a cut out section as the magazine tube is very close to the barrel.
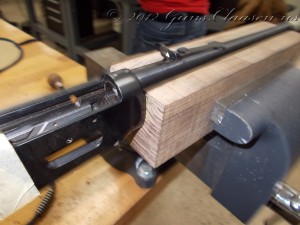
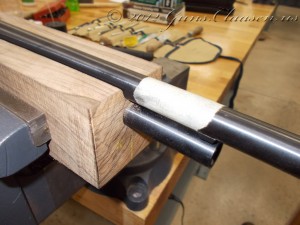
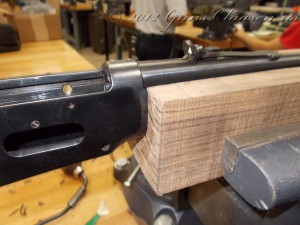
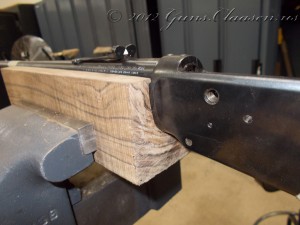
With the barrel channel close to the correct depth I started doing the inletting to allow the fore end to fit the action. I marked the rough outline, applied inletting black to the action and barrel. Then the long process started in getting everything to fit. This is slow work and this part went better and quicker than on the butt stock.
I slowly worked at the back area and the depth until it fitted correctly.
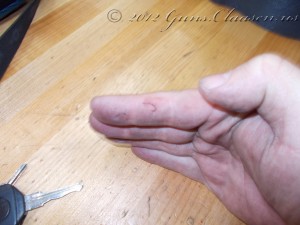
I felt I did a better fitting job here as opposed to the butt stock. The next step is to fit the barrel band and then shape the fore end. During one of the test fittings, I had to appease the blood gods with a sacrifice. The bottom of the hole on the magazine tube had a sharp edge I forgot about and it managed to break some skin.
 Semester 2 wrap-up
This semester is over! I know I am still behind in posting the project updates but I am catching up!
Highlights for this semester:
Really awesome looking stock project on my Winchester 94!
Although unofficial, I have kept my GPA.
President’s list student.
Inducted into Phi Theta Kappa honors society.
Nominated by the college for the Governor Robert W. Scott Student Leadership Award.
Elected president of MCC Student Government Association.
Thank you everyone for the words of support and for following my work!
