Archive for April 2012
 Some college and blog news
I am happy to say that the blog will pass the 1000 view mark today or at the latest tomorrow. Thank you to everyone that read and viewed articles on the site.
(Edit: Yes, passed the 1K mark!)
In some college news related to my studies, I am happy to report that I am now a member of the Phi Theta Kappa honors society.
 FN SPR project: Blueprinting
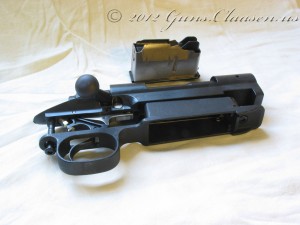
It is time to talk and show some of the work I have done on my third (required) project this semester. The FN Special Purpose Rifle (SPR) is essentially a pre-64 Winchester 70 action. We managed to get a good group deal on these and I ended up buying 2 of these. One (this one) I will keep as a complete rifle as it will be part of my portfolio. At some stage, I will complete the second rifle and sell it. I will chamber this rifle in .243 Winchester and I will make a laminate stock for it.
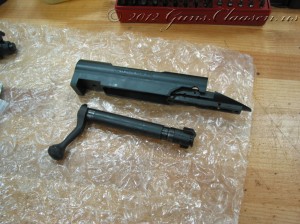
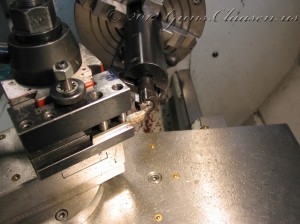
As with the Mauser and Remington projects, I start by blueprinting the bolt and receiver. I trued the bolt face first.
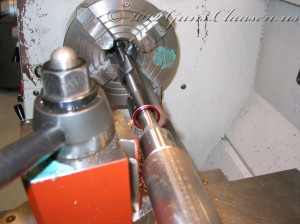
I also had to true the bolt lugs. No picture of that but the process is the same as for the Mauser bolt. I then trued the front of the receiver.
The only other step needed on the bolt and receiver was to lap the bolt to make sure there is full contact between the bolt lugs and the receiver. In my next post I will show the process of cutting and chambering the barrel.
 Winchester 94: Fore end start
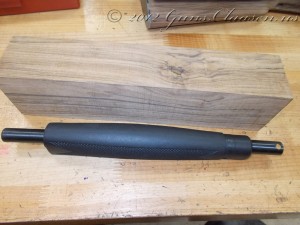
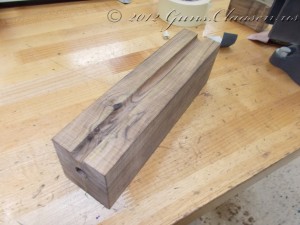
Time to start work on the fore end. Here is the wood blank ext to the existing fore end.
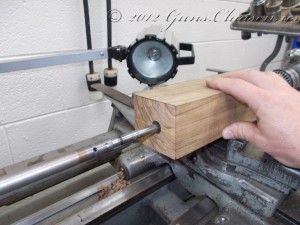
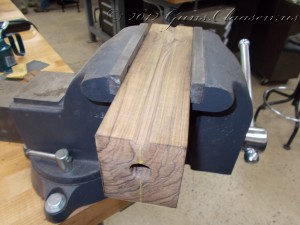
I started by drilling a hole through the wood for the magazine tube.
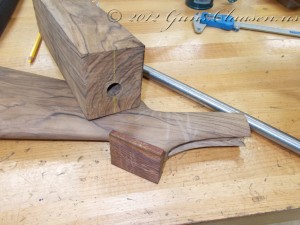
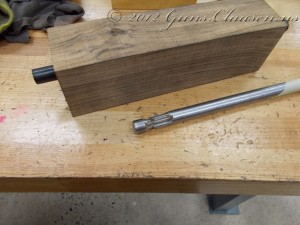
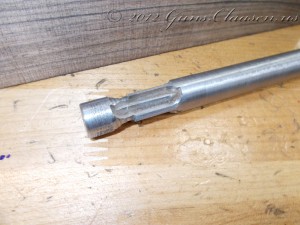
Hole drilled but just too small. I needed to make a small reamer to make the hole larger. Here is the fore end with the stock after the grip cap glue dried and the metal piece I will be making the reamer from.
After I completed the reamer, I finished the hole for the magazine tube.
Now it is time to do the channel for the barrel. I chose to do this without the help of any power tools.
The next step is to take the channel diameter to the next size tool I have. Look for that in a later post with a picture of the tools I am using to do this.
 Winchester 94: Sanding & grip cap
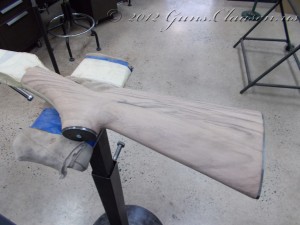
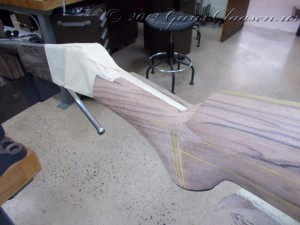
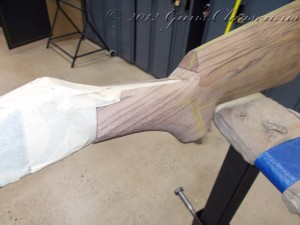
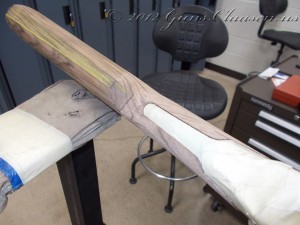
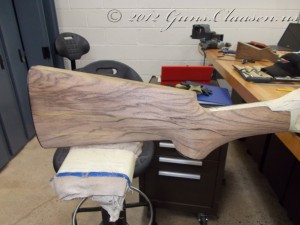
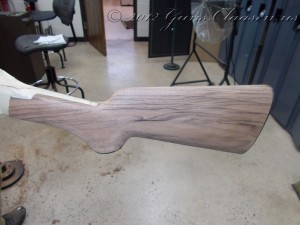
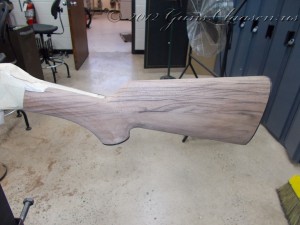
With the rough shaping complete I started sanding the stock. This is done in a few steps. I started with 80 grit sandpaper, followed by 150 grit, 220 grit and finished with 400 grit. The idea is to remove all tool marks from the wood until it is smooth. Not really much to see in the pictures, but here they are!
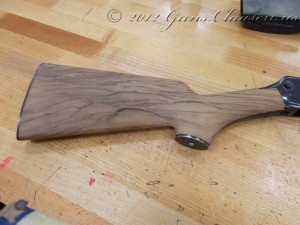
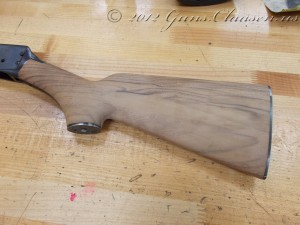
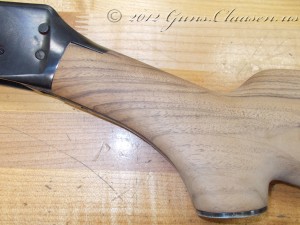
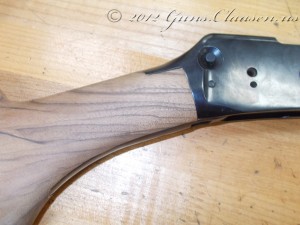
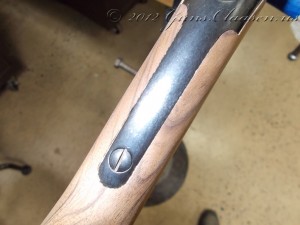
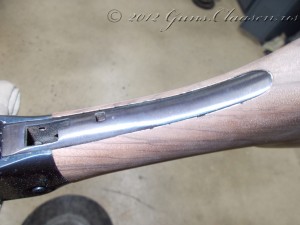
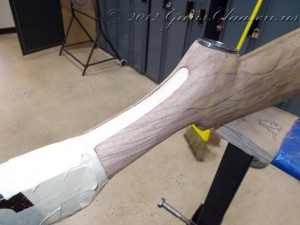
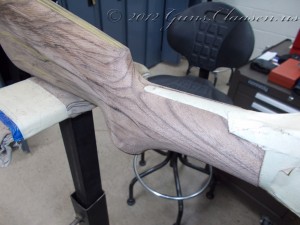
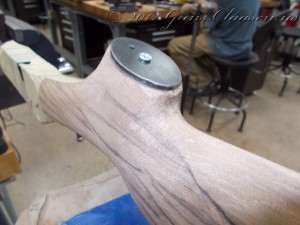
When I completed the sanding, I removed the protective tape and snapped a few photographs, including some close-ups.
It is now time to turn my attention to the grip cap. I removed the metal template and shortened the pistol grip a little. I then ensured the bottom of the pistol grip was square.
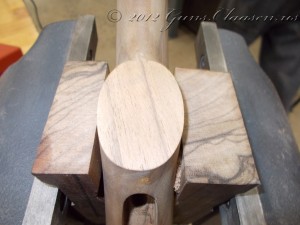
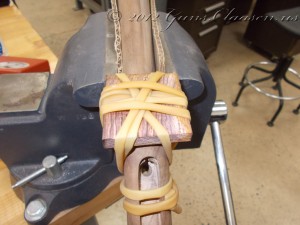
On this stock, I opted to add a wooden grip cap. I found a piece of cocobolo that I thought would complement the rest of the stock. After cutting it and making sure that it was square on the pistol grip side, I glued it to the stock and left it to dry.
Yes, the “clamp” that I use is just a piece of surgical tubing. This has been left to dry. If you are wondering, I have now caught up with the progress on this part of the stock. Next is to shape and sand the grip cap to match the pistol grip, mount the recoil pad (received today from Brownells) and then I will start finishing it! I have started with the forend part and will post the progress on that in my next post.
 Winchester 94: More stock work
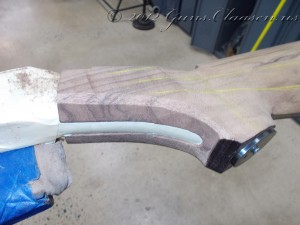
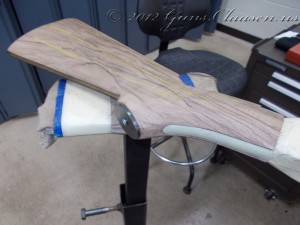
Time to start working on the pistol grip area of the stock. The steps I took here are similar to shaping the rear of the stock. However, I did have to start looking at the shape of the metal on the receiver and start following that. Blending the transition areas of the pistol grip area is done mostly on looks. As with the butt-stock area, I worked sections at a time to make sure everything stayed even and in symmetry.
With the front area of the pistol grip done, I turned my attention to the top and bottom of the pistol grip itself. I rounded the bottom.
And then started working on the area at the top and the transition to the comb of the stock.
I reached this point at the end of a days work. After looking at the stock, I decided I did not like the sharp profile at the front of the comb and softened that up a little.
Normally the comb of a stock would be centered over the bottom of the pistol grip. It is not possible to do that on this rifle as the top tang of the receiver is in the way. It is now time to start working on the rear area of the pistol grip where it transitions into the butt-stock.
Now comes the time-consuming part. It is time to start the sanding. But that I will cover in my next post. As always, thank you for looking in and feel free to ask any questions!
