Archive for June 2012
 Winchester 94: Bedding the stock
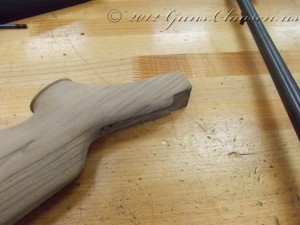
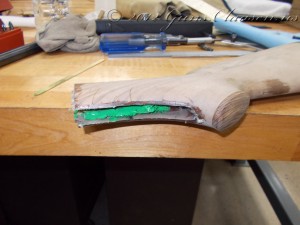
Getting close to the end of this project (in posts, not time). I am now ready to glass bed the stock into the action. On this rifle, it will help with cosmetics as it will let everything fit together nicely. The glass bedding will also protect the wood from cleaning solvents and gun oils in the areas under the metal. Here we can see the stock ready for application.
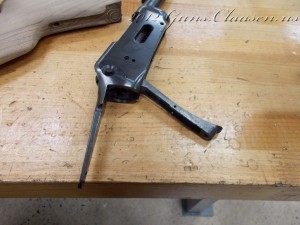
Although it can not be seen in the picture all the metal parts are now coated with a mold release agent. This will prevent the metal adhering to the glass bedding. If you do not use a release agent, all you are creating is an expensive club as it will be very difficult to remove the stock from the action without destroying something.
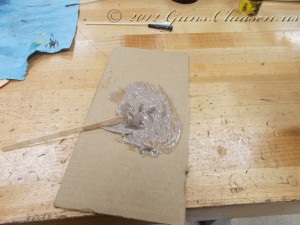
The next step is mixing the glass bedding material. I am using Brownells Acraglas Gel® for this project. Basically it is a two-part epoxy with a small amount of dye added to color match the wood.
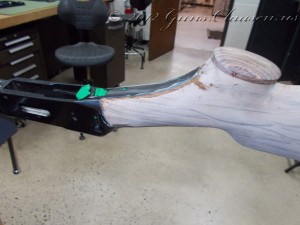
Once the Acraglas is mixed, it is applied to the stock, the receiver inserted and tightened as it would normally be. At this point, there is no internal parts in the receiver. In order to make sure there is space for all the parts and to prevent the bedding material from going into place I do not want it to go, I used play-do as a filler. That is the green stuff you see. Who says a gunsmith can not have fun!
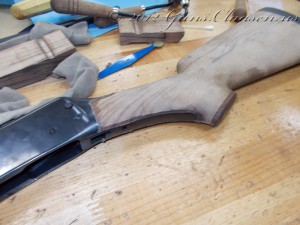
After the Acraglas hardened for a while, I removed the receiver from the stock to verify it can come out of the stock.
I also removed as much of the play-do that I could at this time. The receiver was then coated with a release agent again, re-assembled and left to cure overnight.
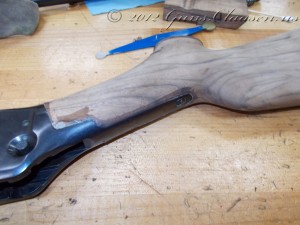
After the Acraglass cured, I removed all over spatter and streaks from the wood.
The stock is now ready the first finish coat. (Or so I thought) In the next post I will show the start of the finishing process.
 Mauser: Bolt work
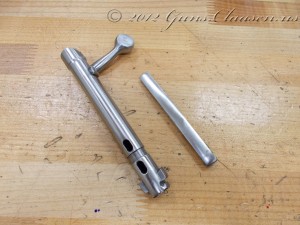
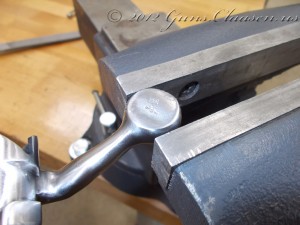
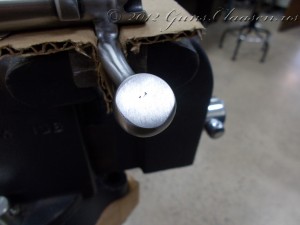
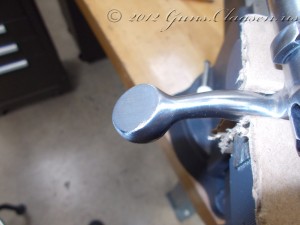
I am slowly getting to the end of the work on the Mauser project for semester two. This time, I am tackling the bolt. The first project is to remove the stamping marks from the bottom of the bolt knob. I did this by drawfiling until all the stamping marks were removed.
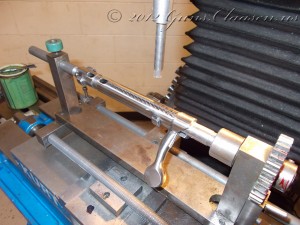
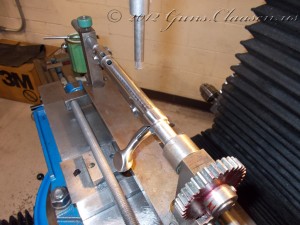
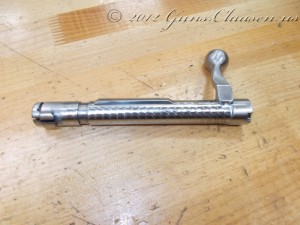
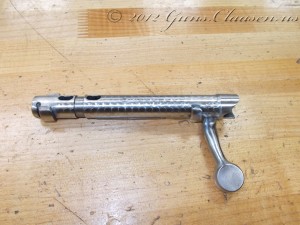
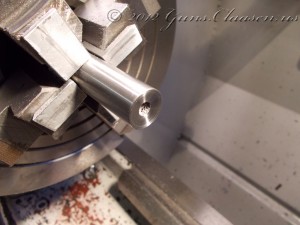
The next project on the bolt is to jewel the bolt body. This is purely for decoration. It can be done in a few ways. Most of my class mates used a jewelling brush and lapping compound. I decided to use a “Cratex” rod. It is a rubberized abrasive rod. I also made the tool that is used to hold it. This is a long process and took me most of the day to do.
In the end, the time was well spent.
I the next post on the Mauser, I will cover the barrel crown.
 Winchester 94: Recoil pad
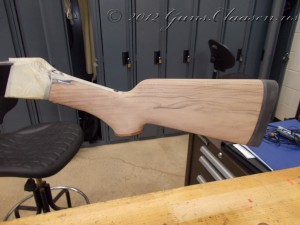
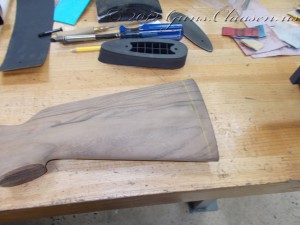
Okay, I must admit that I should have done this a little earlier. At this point I had already started sanding the stock and ideally, the recoil pad should be installed already when you start this. The recoil pad is ground down to the size of the stock on a belt sander and it is very easy to make a mistake and remove a bit too much material. The first step in fitting the pad was to measure the length of pull for the stock. When you buy a mass-produced rifle the butt stock is the size the manufacturer decides on. On a custom gun stock, this can be made to the owners preference. You can see the recoil pad in the background of the picture.
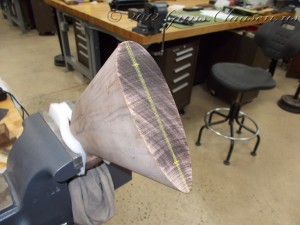
I cut the stock to size and then marked the center line and the position of the two mounting screws.
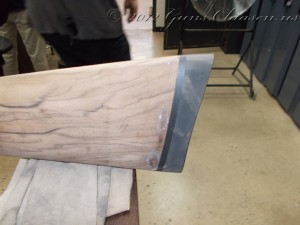
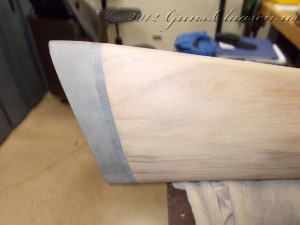
At this point, I wrapped the back of the stock with equal layers of masking tape. The masking tape will offer protection for the wood that is already sanded and give me a visual indication of when I start touching the wood with the sander. Unfortunately I got so engrossed in my work at this point and totally forgot to take any further pictures until after I finished! Here is the finished product though. In the first picture you can still see a little adhesive residue from the tape.
In the next post, I will bed the stock to the action.
 Mauser: Metal work
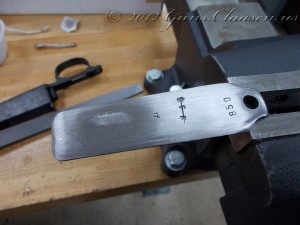
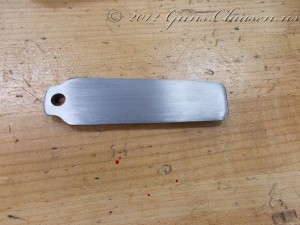
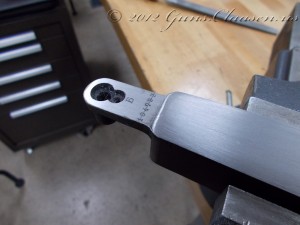
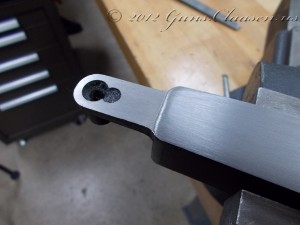
It is time to post some more work on the Mauser project. The original M48A model that I started with comes equipped with stamped bottom metal pieces to save money during manufacturing. Unfortunately, these parts can not be customized and I sourced some parts from the M48 model. These were all old military surplus items and needs to be cleaned for use on this rifle. I started by getting rid of the stampings and dents in the magazine floorplate.
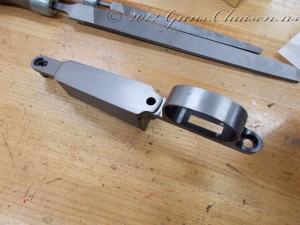
The next part that needed attention was the bottom metal itself. Again, I needed to get down to clean metal. This is done by drawfiling the metal. It gives a very smooth finish and it is easy to keep the surfaces that is filed flat.
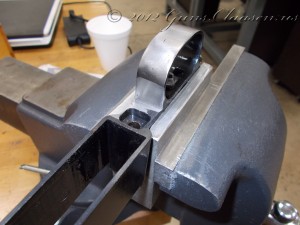
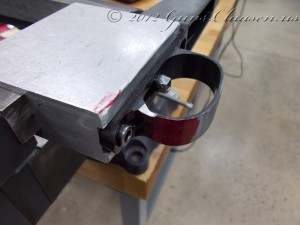
On the other side of the bottom metal I tackled the trigger guard. First I removed a hump at the front of the guard. The next step was to remove all the dents and scratches in the trigger guard itself.
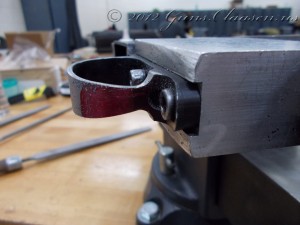
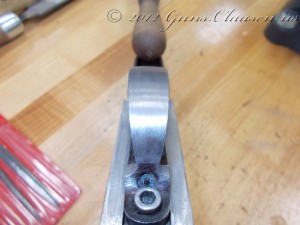
The next step for the trigger guard was to give it a more appealing shape. On military rifles, the looks are not important. On a custom hunting rifle, looks go a long way.
At this time, I will most likely not touch these parts until I start doing the polishing work needed when the rifle is blued in our last semester. In the next post I will show some more of the work I did on the bolt.
