Posts Tagged ‘Winchester’
 Winchester 94: Stock finishing
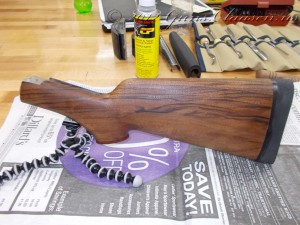
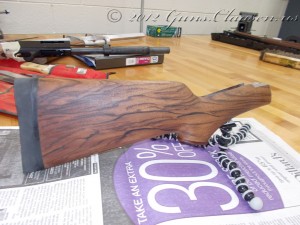
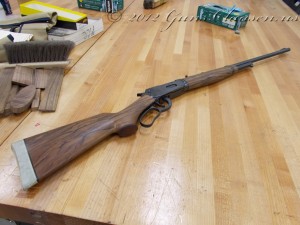
The stock on the Winchester is now on the last few steps. To obtain a grade, we have to do at least one finish coat on the wood. During grading the instructor looks and makes sure that there is no scratch or tool marks in the wood. The finish I used for this stock is Custom Oil by Gun Sav’R. I chose to use a satin finish. The finish is available in an aerosol and liquid that can be sprayed by airbrush or paint gun. I used both, starting with an application of liquid rubbed into the stock.
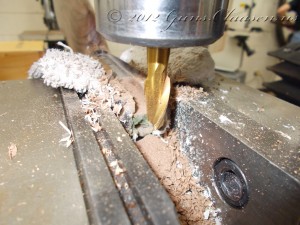
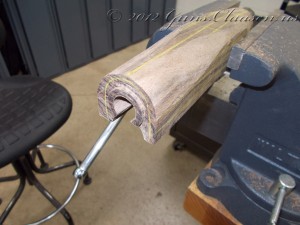
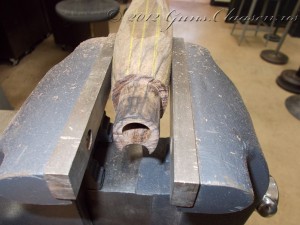
Once I got to this point I realized I had forgotten something quite important. I had not removed all the wood in the buttstock and the action would not fit at this point. For reasons I will show you in the next post, I will make sure I do this earlier in the finishing process next time. So, of to the mill, to clamp and mill out most of the material that is in the way. It is a little tricky to clamp this and I had to take care to make sure everything was lined up correctly.
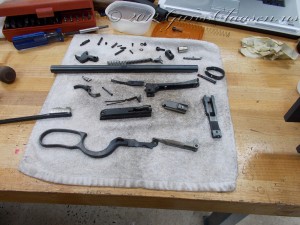
After I completed the milling work (with a little filing as well) I started to assemble the rifle to ensure proper operation. I cleaned all the parts first and then assembled. Since it had been a long time since I disassembled the rifle, I did not go together on the first try but that is how you learn!
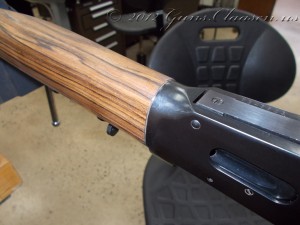
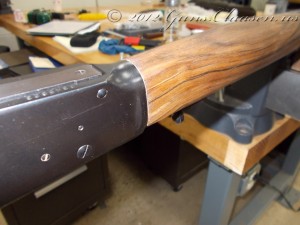
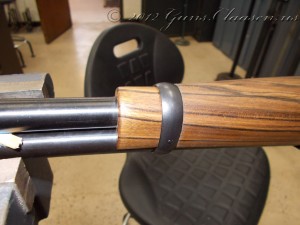
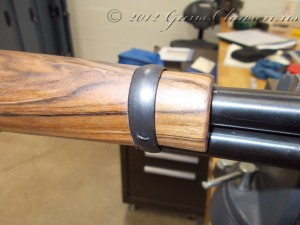
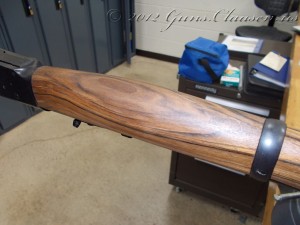
The next few pictures speak for themselves. When you work with wood, it is always difficult to predict exactly what it will look like as you shape the wood. An interesting pattern on the outside could just fade away as you start removing wood. That did not turn out to be the case on the forend. The slight discoloration between the forend and the receiver is some Acraglas. This time, I did color it a little darker.
I am happy with the way this project is shaping up. The barrel band fit is not perfect and there is a few dimension not quite the way they should be, but those are not very noticeable. The forend feels and fits really well in my hand. I should have one more post on this project where I will be able to wrap up.
Thank you again for stopping in and reading!
 Winchester 94: Recoil pad
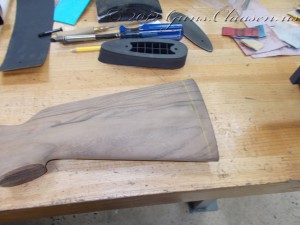
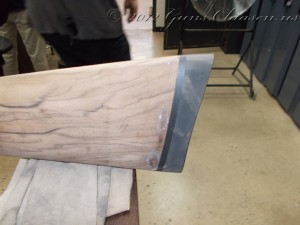
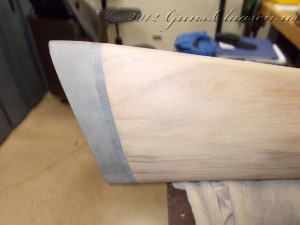
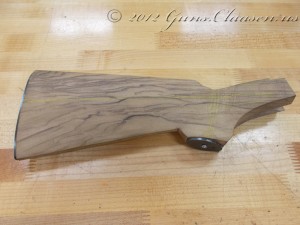
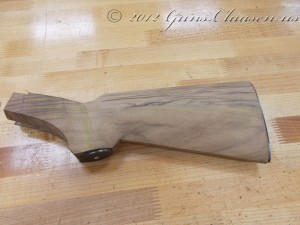
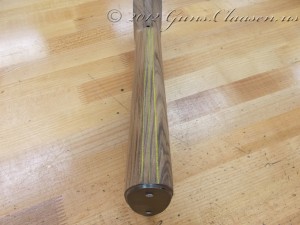
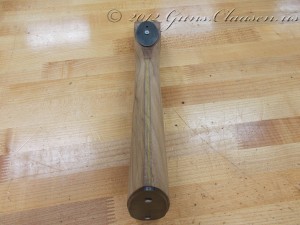
Okay, I must admit that I should have done this a little earlier. At this point I had already started sanding the stock and ideally, the recoil pad should be installed already when you start this. The recoil pad is ground down to the size of the stock on a belt sander and it is very easy to make a mistake and remove a bit too much material. The first step in fitting the pad was to measure the length of pull for the stock. When you buy a mass-produced rifle the butt stock is the size the manufacturer decides on. On a custom gun stock, this can be made to the owners preference. You can see the recoil pad in the background of the picture.
I cut the stock to size and then marked the center line and the position of the two mounting screws.
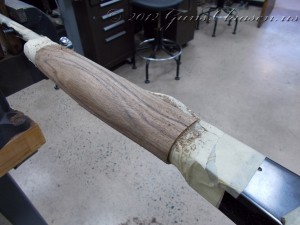
At this point, I wrapped the back of the stock with equal layers of masking tape. The masking tape will offer protection for the wood that is already sanded and give me a visual indication of when I start touching the wood with the sander. Unfortunately I got so engrossed in my work at this point and totally forgot to take any further pictures until after I finished! Here is the finished product though. In the first picture you can still see a little adhesive residue from the tape.
In the next post, I will bed the stock to the action.
 Winchester 94: grip cap
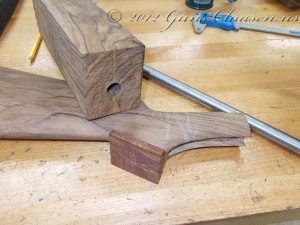
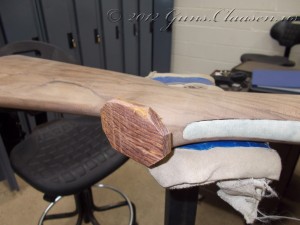
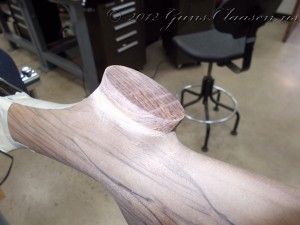
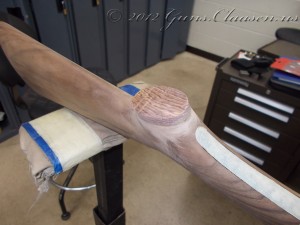
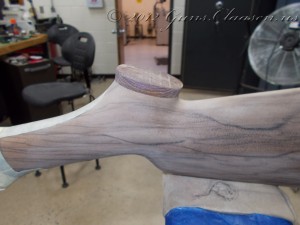
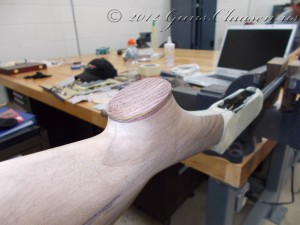
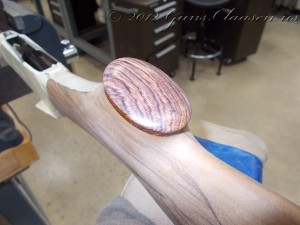
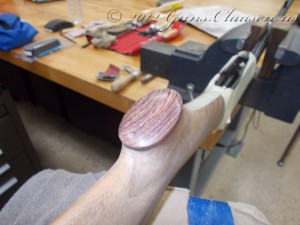
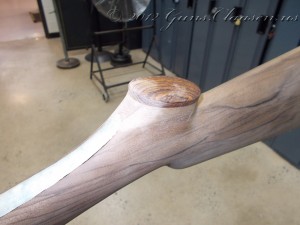
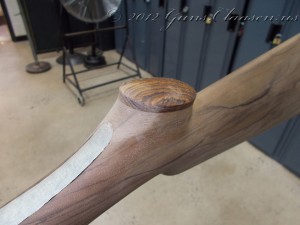
The grip cap is now glued to the rest of the butt stock and I can start shaping it to blend in with the butt stock. The first picture gives you an idea of my progress at the time on the fore end.
As always, the first step is rough shaping.
With the grip cap blended to the butt stock, I thought it was still a little too thick and made it a little thinner.
With the grip cap now at the desired thickness, I started smoothing all the sharp edges on it. I also polished a little to get some idea of what it will look like once I complete the stock.
When I looked at the grip cap, I was not happy with the way the grip cap flowed into the front end of the butt stock. It was not really something I could photograph, but I reshaped the front area a little and though it looked better.
In my next post in this series, I will outline the process of fitting a recoil pad to the butt stock.
 Winchester 94: Fore End cont.
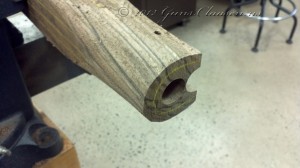
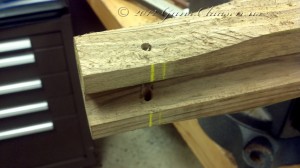
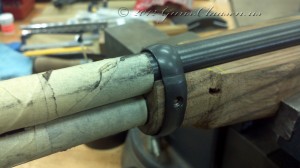
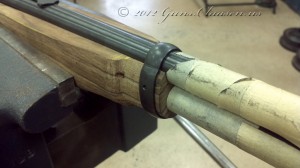
Time to start fitting the barrel band on the fore end of the stock. I marked a rough outline and started to shape the front end down to the right size. At this time, I had already cut the fore end to the correct size and drilled the hole for the barrel band screw. If you are wondering about the slightly different look in the pictures, I did not have my camera handy and used my cell phone to take the first four pictures in this post.
Here you can see the marks I used to drill the hole for the barrel band screw.
Once I got the front of the wood to the correct size, I started fitting the barrel band. This is a fairly slow process and it is easy to mess up if you are not careful on making sure the barrel band lines up correctly. I did make a slight mistake but it was during the last stages of fitting but lucky for me, the barrel band hides it.
Once I finished fitting the barrel band, It was time to start the rough shaping of the fore end. I followed the same principles I used when I shaped the butt stock and tried to make sure I worked in stages and the I was taking of equal amounts of material on every side of the fore end. I made a choice here in shaping the fore end as well. The traditional fore end on the Winchester 94 is straight. The Black Shadow model had a slight bulge in the fore end. After trying both, I decided to do mine with a bulge as well. It made the rifle a little easier to hold and just felt better in my hand.
Here you can see some of the detail on the finished barrel band area.
As with the butt stock, the work here progresses from rough shaping using a rasp down to the point where I will start sanding the fore end.
I will now start sanding the fore end. I sand until I removed all the tool marks from the wood and I then slowly sand down to the stage where I will be sanding with 400 grit paper. Once I am there, I will start applying the finish to the wood. My next post in this series will outline the finishing work on the butt stock.
 Winchester 94: Rough shaping the stock, continued..
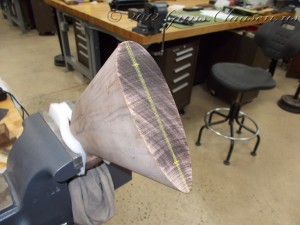
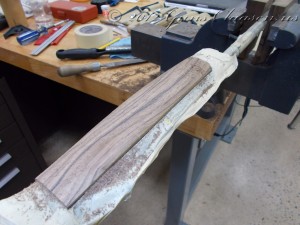
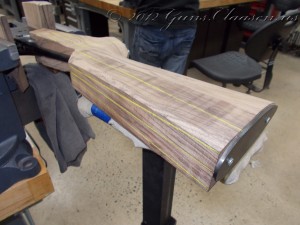
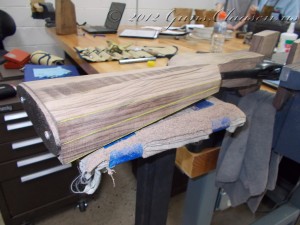
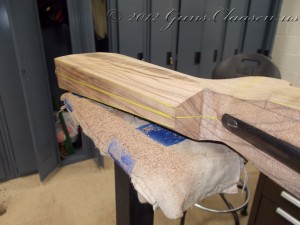
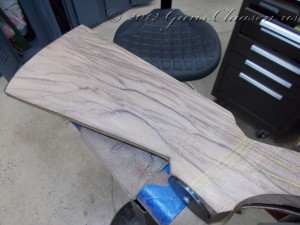
Time to make the top of the stock look less like a block. The process for the top mimics what I did on the bottom. I did use some yellow grease pencil to make the lay-out lines easier to see. Again, I worked on small sections making sure everything stays level and in symmetry.
In the next post, I will continue at the front end of the stock and work on the pistol grip.
