 FN SPR: Barrel
I took a short break from updating the blog since it is the only break I will get before my summer semester. I have not been idle and took a few short courses during the break. But now we need to look at the FN project again.
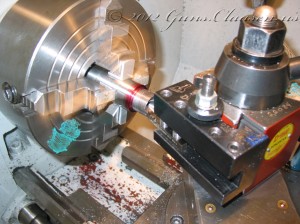
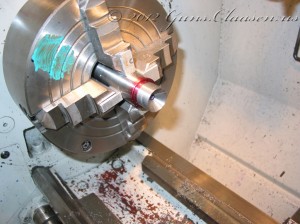
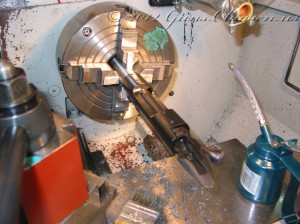
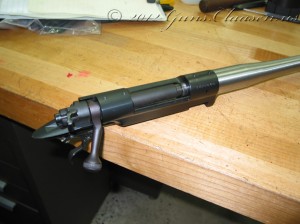
The setup work on the barrel is a repeat of everything that I did for the Mauser and Remington projects. After centering the barrel in the lathe, I cut the tenon and threaded the barrel to fit the receiver. The next step was to cut the cone for the bolt.
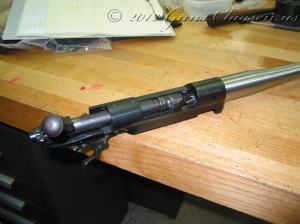
With the cone completed, I cut the chamber in the barrel. This rifle is chambered for .243 Winchester. I tightened the action onto the barrel and it is now ready for test fire.
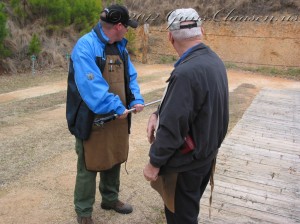
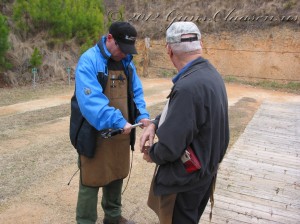
- Time to do the test fire!
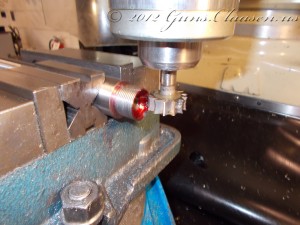
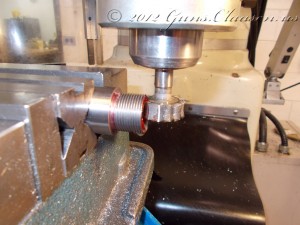
I am pleased with the test fire results. Case expansion on this rifle was 0.0005″ (12.7 microns/0.0127 mm). The final step of the barrel process is to cut the groove for the extractor. I marked the location of the barrel relative to the action, removed the barrel and set the barrel in a mill to cut the extractor slot.
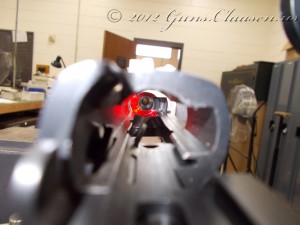
After I completed the cut, I re-assembled the action and barrel and verified the headspace and made sure the extractor works.
The only work left for the barrel is to do the crown. I will cover that in the next post on this project. As always, thank you for reading.
