Archive for May 2012
 Remington 700: Fitting the barrel
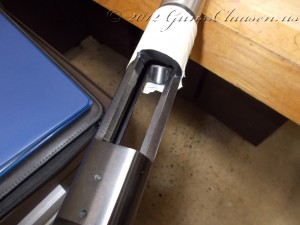
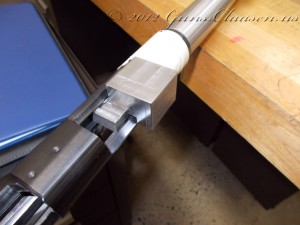
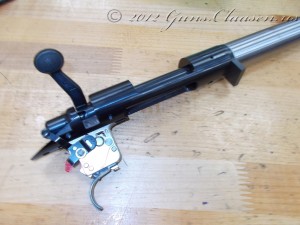
Back to the Remington 700 project. I finished the barrel and the blueprinting of the bolt and the receiver. It is now time to fit the barrel and test fire the rifle. The masking tape you see in the photos is to protect the action from scratches.
The Remington 700 receiver is easy to damage if twisted. To prevent damage like this I use a wrench adapter that I made during our first semester.
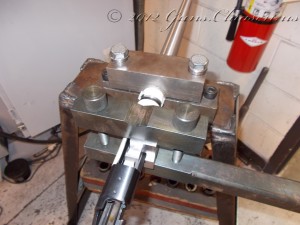
Once I installed the wrench adapter, I clamped the barrel in a barrel vice (yes, I made one of those in my first semester but the one you belongs to the school) and use an action wrench to tighten the barrel. Yes, the action wrench you see was a first semester project. Normally, I would use an a tool to hold the recoil lug in alignment during this step, but it was not needed as the action would be removed from the barrel after the test fire.
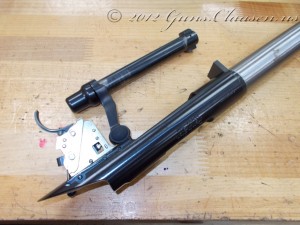
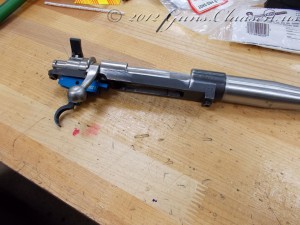
Once this was done, I installed the trigger and the rifle was ready to test fire.
Next was the test fire! Test firing consists of three rounds fired from the rifle. After the test fire, the cartridge cases are checked for expansion. We are allowed an expansion of 0.002 inches (0.0508mm or 50.8 micron). Here is a video of the test fire.
The results of the test fire was good. Zero case expansion. I am more than happy with that. The next step for this rifle is to install a muzzle brake and I will detail that in the next post.
 Mauser project: Barrel, trigger and safety
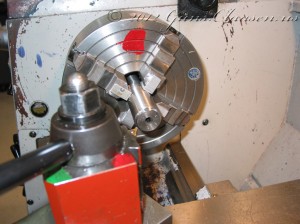
As our semester is winding down, I am still playing catch up on posting my projects. Today, I will update some of the work I did on the Mauser. After completing work on the receiver and bolt, I am turning my attention to the barrel, installing a new trigger and a low position safety. I clamped the barrel and centered it in a 4-jaw chuck on the lathe.
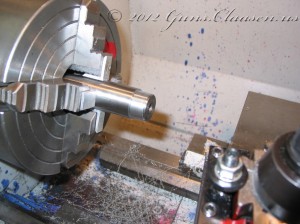
After facing the barrel, I cut the tenon.
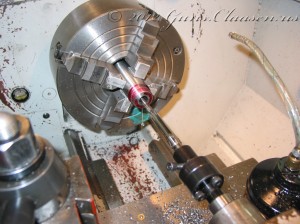
I then cut the threads needed to attach the barrel to the receiver including a relief cut at the shoulder part of the tenon. This is to ensure the receiver fits tightly onto the barrel. I verified that the face of the barrel was also touching inside the receiver. In the picture, I am busy reaming the chamber (.257 Roberts). The red marks you see is a marking fluid that I used to ensure all the metal surfaces that should make contact with each other is in fact doing so.
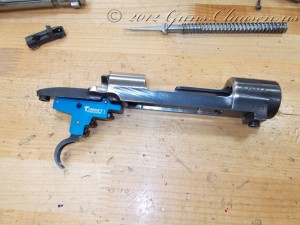
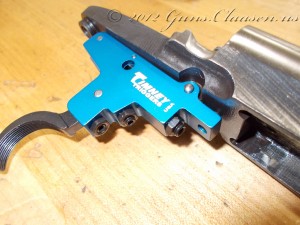
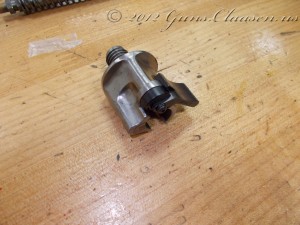
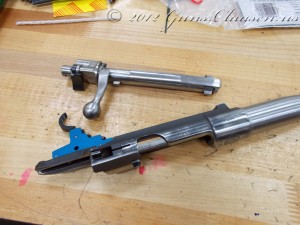
With the barrel chambering complete, I turned my attention to the action. First, I installed a Timney Sportsmen trigger. I also installed a Beuhler-style low safety.
Once I completed this, I attached the barrel.
The next step for the action is to test fire it and check that the case expansion is good. I also have some other metal work to do and I will cover that in a future post.
