 Mauser project: Barrel, trigger and safety
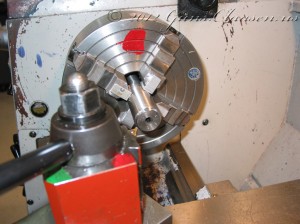
As our semester is winding down, I am still playing catch up on posting my projects. Today, I will update some of the work I did on the Mauser. After completing work on the receiver and bolt, I am turning my attention to the barrel, installing a new trigger and a low position safety. I clamped the barrel and centered it in a 4-jaw chuck on the lathe.
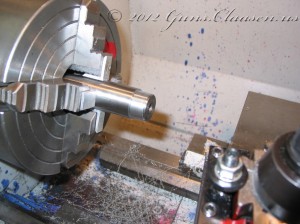
After facing the barrel, I cut the tenon.
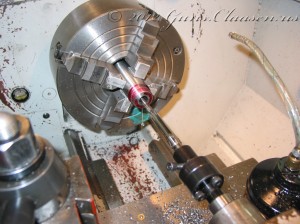
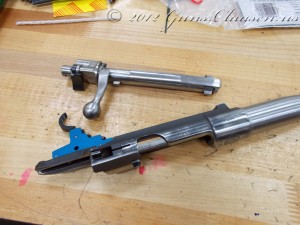
I then cut the threads needed to attach the barrel to the receiver including a relief cut at the shoulder part of the tenon. This is to ensure the receiver fits tightly onto the barrel. I verified that the face of the barrel was also touching inside the receiver. In the picture, I am busy reaming the chamber (.257 Roberts). The red marks you see is a marking fluid that I used to ensure all the metal surfaces that should make contact with each other is in fact doing so.
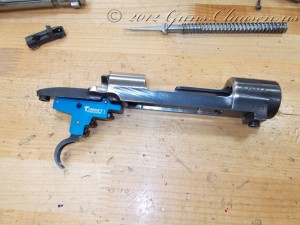
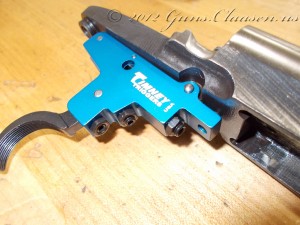
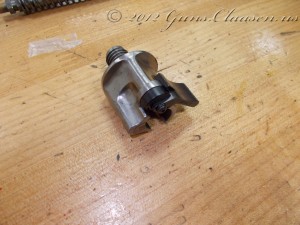
With the barrel chambering complete, I turned my attention to the action. First, I installed a Timney Sportsmen trigger. I also installed a Beuhler-style low safety.
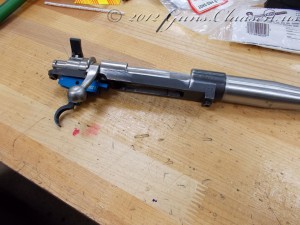
Once I completed this, I attached the barrel.
The next step for the action is to test fire it and check that the case expansion is good. I also have some other metal work to do and I will cover that in a future post.
