 Remington 700 VLS: Accurizing
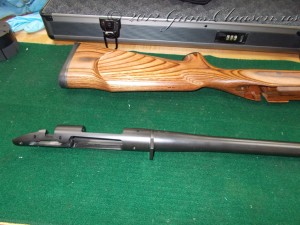
In the only full week between the spring and summer semesters, I signed up for a NRA short-term gunsmithing course for Custom Accurizing on the Remington 700. The instructor was Thomas Marshal, who spent many years working with the Army Marksmanship Unit on theses rifles. I am splitting the work from this week into two sections and will cover all the preparation work in this post. While we received general instruction on these rifles and the things that can be done to them to improve the accuracy, the main focus of the course was to do a bedding job on a rifle. A good bedding will ensure there is full contact between the stock and the action and will prevent the action from moving around when the rifle is fired. I used a Remington 700 VLS with a 26″ heavy barrel from my collection that had no modifications. As always, I started by removing the action from the stock, removing the bolt and trigger system. As I did not intend to do any work on the action or barrel, there was no need to separate the barrel from the action.
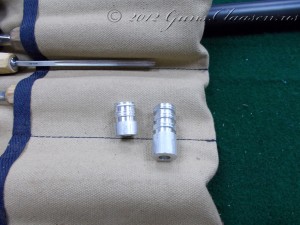
Another option when bedding a rifle is to use pillar beds. These non compressible pieces are bedded into the stock. There are a variety of commercial pillar bedding components available on the market, but they can easily be made on a lathe. I made sure they were the correct length and then flattened the sides to prevent them from turning if they should happen to release from the bedding agent.
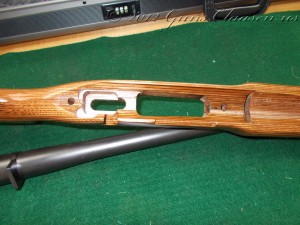
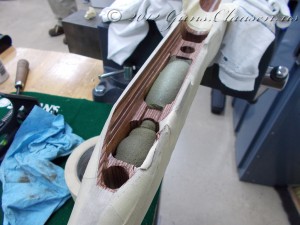
The next step was to tackle the factory stock and prepare it for the bedding compound. Most of this was done on a mill and involved removing small amounts of material from the stock. This is then filled in by the bedding compound. The square cuts from the endmill also give the bedding compound more surface area to adhere to. The area around the recoil lug is also enlarged. You can also see where I enlarged the original screw holes to fit the pillars.
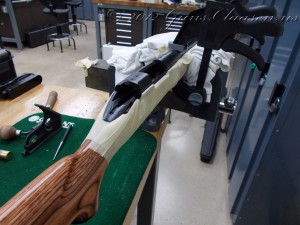
I then applied tape to the stock to protect it from the bedding compound. The compound sticks to everything and is really hard when it sets so this is important. I also used spacers in the barrel channel to ensure the action goes squarely into the stock.
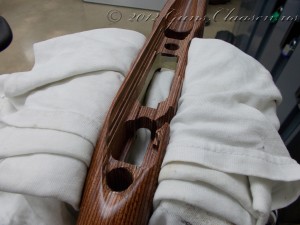
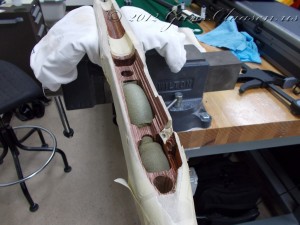
Once I completed this, I started filling up all the large holes in the stock where components of the rifle would normally be. Yes, I used sponge to do that.
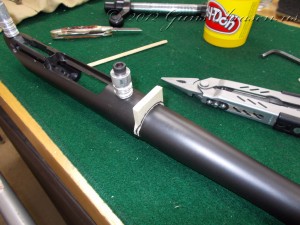
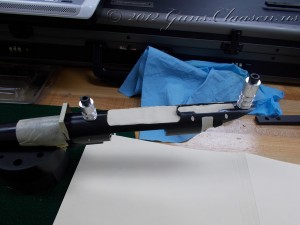
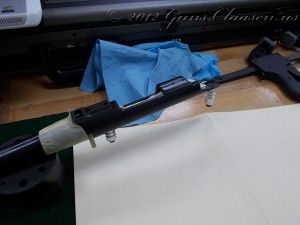
The action also needs some preparation. I mounted the pillars to the action and taped the front of the recoil lug. The rear of the recoil lug sits against the bedding material. In some of the following pictures, you will also see where the first part of the barrel is taped.
Here is the stock ready for bedding. I do still need a small dam in the barrel channel to prevent compound going down the channel. You can also see the dam I made on the stock where the bolt handle goes. This is to prevent compound spilling down the side of the stock.
The action is now also ready for bedding. The parts of the action where we do not want any compound to go is filled in. This can be done with a few things, such as plumbers putty, silly putty or (in my case) Play Doh.
In my next post, I will go through the process of applying the bedding compound and cleaning up.
How accurate was this rifle before bedding? MOA? Sub-MOA?
Well, I can not really remember. I would say it was a MOA rifle. Unfortunately, it shoots a lot better than the shooter and that does make it difficult to establish how good it used to be.