Posts Tagged ‘accurize’
 Remington 700 VLS: Accurizing (part 2)
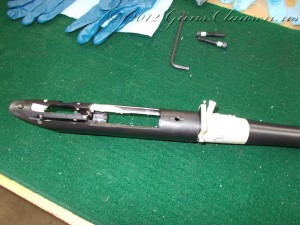
Let’s wrap up this project. In the earlier post for this project I discussed all the preparation needed for bedding the rifle. The last step before I started mixing the bedding compound, was to apply some sort of release agent on the metalwork. If this is not done, the action will be permanently glued to the stock which is not a good idea. There is various ways to do this. Two commonly used methods is to cover everything you do not want to stick together with Johnson paste wax or Kiwi neutral shoe polish. I used a commercial mold release agent known as Frekote, manufactured by Henkels. As this is in an aerosol can, it is quick and easy to apply.
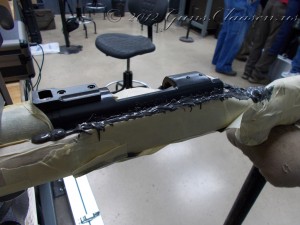
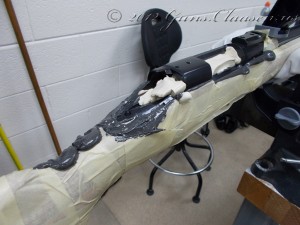
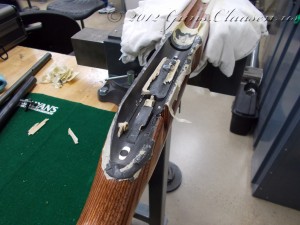
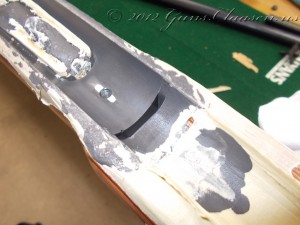
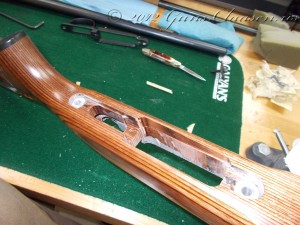
The next step was to apply the bedding material. Once this is mixed, you have about an hour of working time. One of the challenges in our NRA gunsmithing school programs is the fact that firearms can not be left at the school overnight. During our normal semester classes this occurs and we would enter firearms into a bound book as required by law. As we could not do that, this process had to be done early enough in the day to allow for the compound to dry in time. There is many products that can be used for bedding and for this project, I used Devcon Plastic Steel. One of my classmates shared his with me (thank you Will) which meant we had enough compound for two stocks and did not need to measure the components for just one bedding job. I filled the stock with bedding compound and removed all the air bubbles from the recesses of the stock. I also applied bedding compound to the pillars and made sure I had full coverage of those. The barreled action is then inserted into the stock. Hydraulic pressure on the compound allows it to push out where it is not needed and fill up any gaps and voids. The action is then clamped to the stock and left to set for about an hour or so.
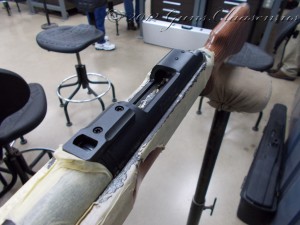
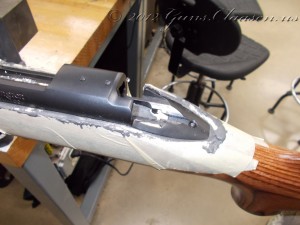
Once the compound starts to set and reaches a consistency of putty, I started trimming of any excess from around the action. Not only is it easier to do at this time, it also prevents the compound from hardening over certain areas and capturing the action.
The bedding compound is then left to set for a few hours. This period will depend on the type of compound used. While waiting for the compound to dry, the class went to lunch and after coming back we had some class room sessions where various other aspects of accurizing were discussed. Before leaving for the day, the action was removed from the stock (to make sure it does actually come out before the compound totally sets) given a light cleanup and then clamped back into the stock.
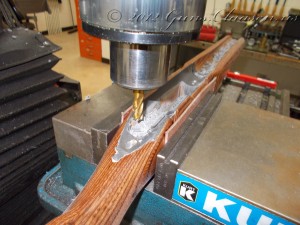
The next morning, I removed the action from the stock and completed cleaning up the action. I then returned the stock to the mill and removed all the bedding material that would interfere with the working parts of the rifle.
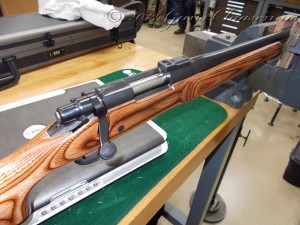
Once all of this was completed, I reassembled the rifle and made sure it functioned correctly.
There was not time to shoot the rifle after completion, but I did have time a few weeks later. I did have to sight the rifle in and I was using surplus ammunition so I can not say for sure how much better the rifle is. However, with me shooting (and I freely admit to not being the best shot in the world) the rifle on a bench and only using a bipod the rifle shot noticeably better groups than before. I am planning to do a range day using some match ammunition soon and will report the results when I do that.
