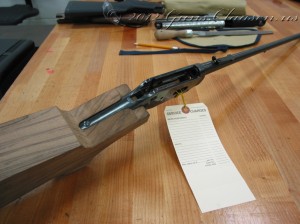
 Winchester 94: Inletting the bottom of the stock, starting to remove wood from the blank
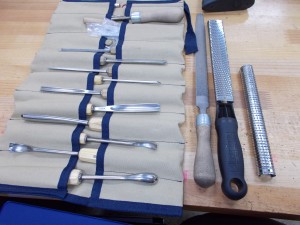
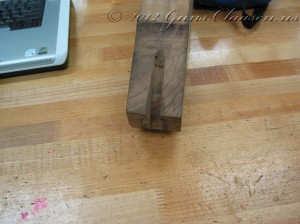
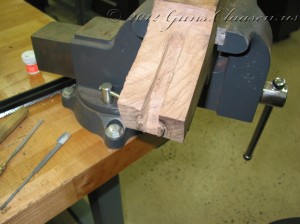
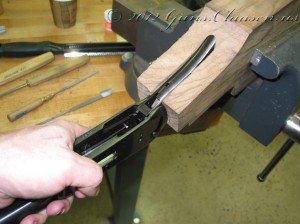
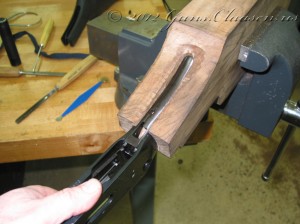
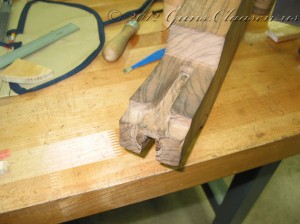
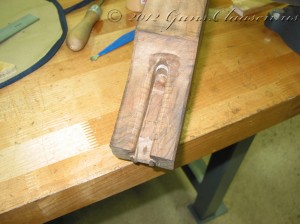
After I completed the inletting on the top tang, I started with the lower tang. The lower tang is not fixed and that makes life a little more difficult. Furthermore, the screw that holds the receiver in the stock passes through the top tang and secures in the bottom tang in a blind hole on this model. So, not only did I have to work this down to the correct depth, I had to be really careful about how the hole will be drilled for the screw. I am showing a select few pictures of this process but it did take some time! First though, a picture of some of the tools I use. This shows the chisels, a #49 cabinet rasp and a micro plane. I some of the top bags of the tool roll is some scrapers and some needle file rasps.
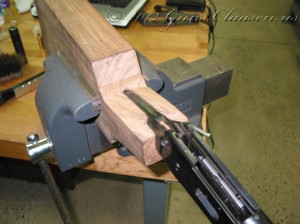
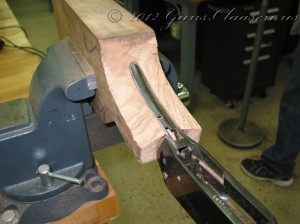
On to the stock work:
And finally, after many hours of work I am done.
Next, I drilled the hole for the tang screw. No pictures of this, but I must admit that my first pilot hole was incorrect. Luckily, it was a minor mistake. Then the rifle is mounted back in the stock blank. This is the point where I start removing all the bits that do not look like a stock!
I started by removing material from the top of the tang area:
Then from the bottom tang area:
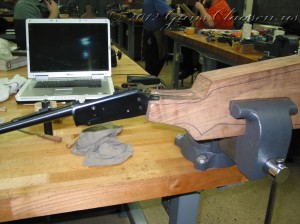
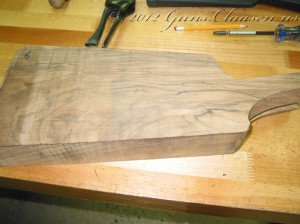
After I completed this, I removed the rifle from the stock blank again and used the original stock as a rough template. If you look carefully you can see that outline on the wood.
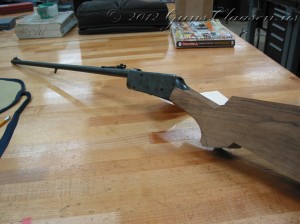
After I created the rough outline, I used an electric bandsaw to remove the excess wood and mounted the rifle back into the stock.
This is a good place to wrap up this post. In the next post of the series, I will do some layout work and start forming the stock.
