 Remington 700 project: Action blueprinting
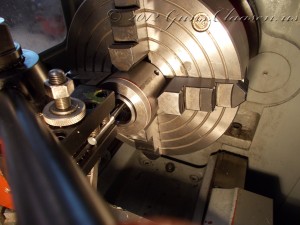
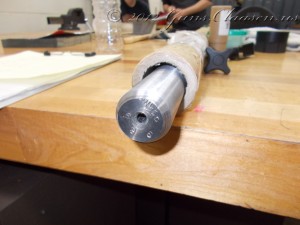
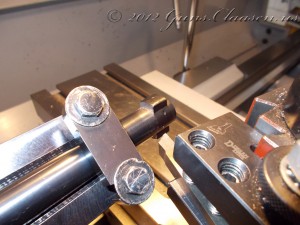
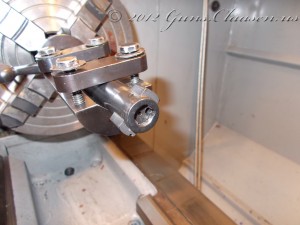
With the blueprinting work on the bolt finished, it is now time for the receiver. As with the bolt, I use a fixture to clamp the receiver in the lathe and center the work. Run-out on this setup was slightly better than the bolt fixture. The rod sticking through the receiver is only used to measure run-out. It is removed (actually pushed back as it fits really tight) when the work starts.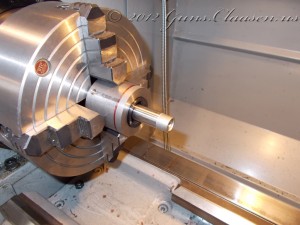
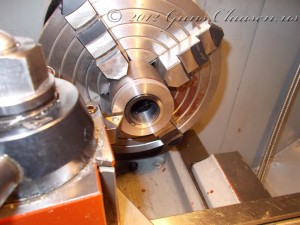
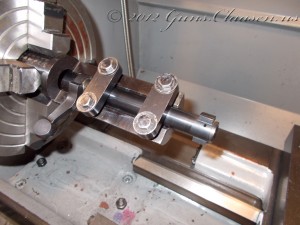
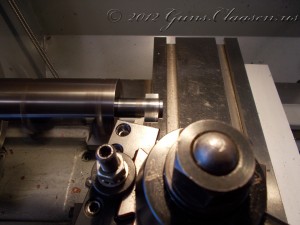
Here is the work halfway done. This photo was taken after the first cut and you can see that the face of the receiver is not quite square. Even though the factory has good tolerances in their manufacturing process, you can get better results with a little extra work.
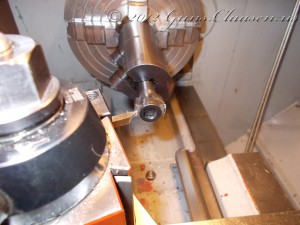
The next step is to square and true the inside of the receiver. I use a small boring bar to get inside the receiver. It is difficult to see in the first picture what I am cutting, but this is done to square up the recoil lugs inside the receiver.
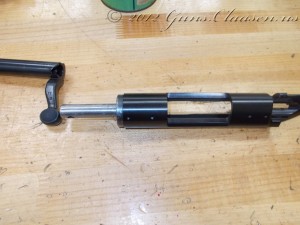
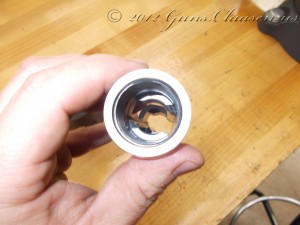
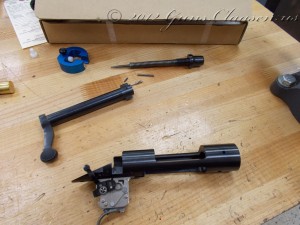
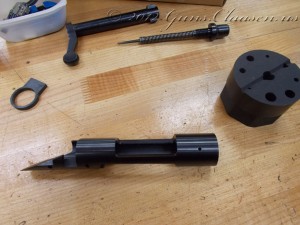
The next step is to use a tool to lap the bolt lugs onto the recoil lugs. The lapping tool is screwed into the receiver where the barrel would normally go. It has a spring-loaded center part and when the bolt is inserted into the receiver and locked into the closed position it will push the bolt lugs against the recoil lugs in the receiver. Lapping compound is a fine grinding paste and by applying some on the back of the bolt lugs, inserting it into the action and opening and closing the action, the lapping compound will slowly grind these surfaces to make perfect contact with each other. The pictures show the receiver with the lapping tool inserted, the bolt after lapping (you will note wear on the dark part of the bolt due to the grinding action of the lapping compound) and the inside of the receiver showing the recoil lugs.
Next up is the barrel and I will show the work on that in a new post.
 Winchester 94 two piece wood stock
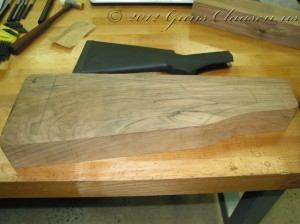
For Basic Stockmaking I chose to put a new stock on a Winchester 94 Black Shadow. Introduced in 1998, this variant of the Winchester 94 was discontinued in 2000. The Black Shadow comes with a black composite stock. The wood for this project I purchased from a former student in the gunsmithing program. The picture shows the wood blank, the original stock and the blank for the fore-end in the background.
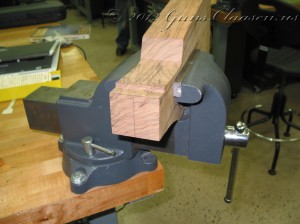
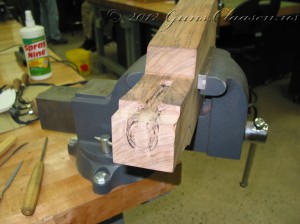
The first step was to inlet the top tang:
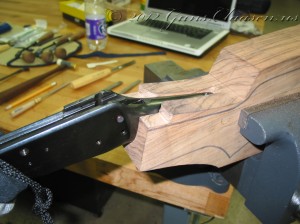
In this picture I finished the top inletting. The black marks you can see on the wood is from inletting black. Inletting black is applied to the metal part that fits to the wood and shows high spots in the wood that still needs work.
 Introduction
Welcome to my blog! I am a student at Montgomery Community College (MCC) in Troy, NC and hope to graduate with an Associates in Applied Science (Gunsmithing) in 2013. I started in the program in August of 2011 and this blog will showcase some of my work and thoughts as I work towards my degree. At this time, I am about halfway through my second semester of study. The first semester was spent making tools that will be used in gunsmithing. This semester the gunsmithing classes I am taking is Basic Stockmaking and Barrel Fitting and Custom Alterations.
During the course I will be building at least three bolt-action rifles. While I will be working on them until the end of my studies, I will update work on each as it progresses. Rifle #1 is built on a Mauser M48A action and will receive a custom wood stock and chambered in .257 Roberts. Rifle #2 is built on a FN SPR action (pre-64 Winchester 70) chambered in .243 Winchester. The stock will either be a laminate or composite. Rifle #3 is built on a Remington 700 action, chambered in .223 Remington and will have a composite stock. During Barrel Fitting and Custom Alterations I will be chamber and fit barrels to these and make improvements as is needed on the actions. For Basic Stockmaking I am working on a two-piece wood stock for a Winchester 94.
For more background, please read my About me page.
Thank you for visiting,
Neil
